I wanted to buy a slider for a long time, but instead of buying one I decided to utilize my brain and 3D printer in order to make it 😀
This is a very simple version of a camera / smartphone slider for shooting time-lapse. It does not require fancy parts or bearings. 3D printing of all parts takes just 10 hours ( including controller case ) !
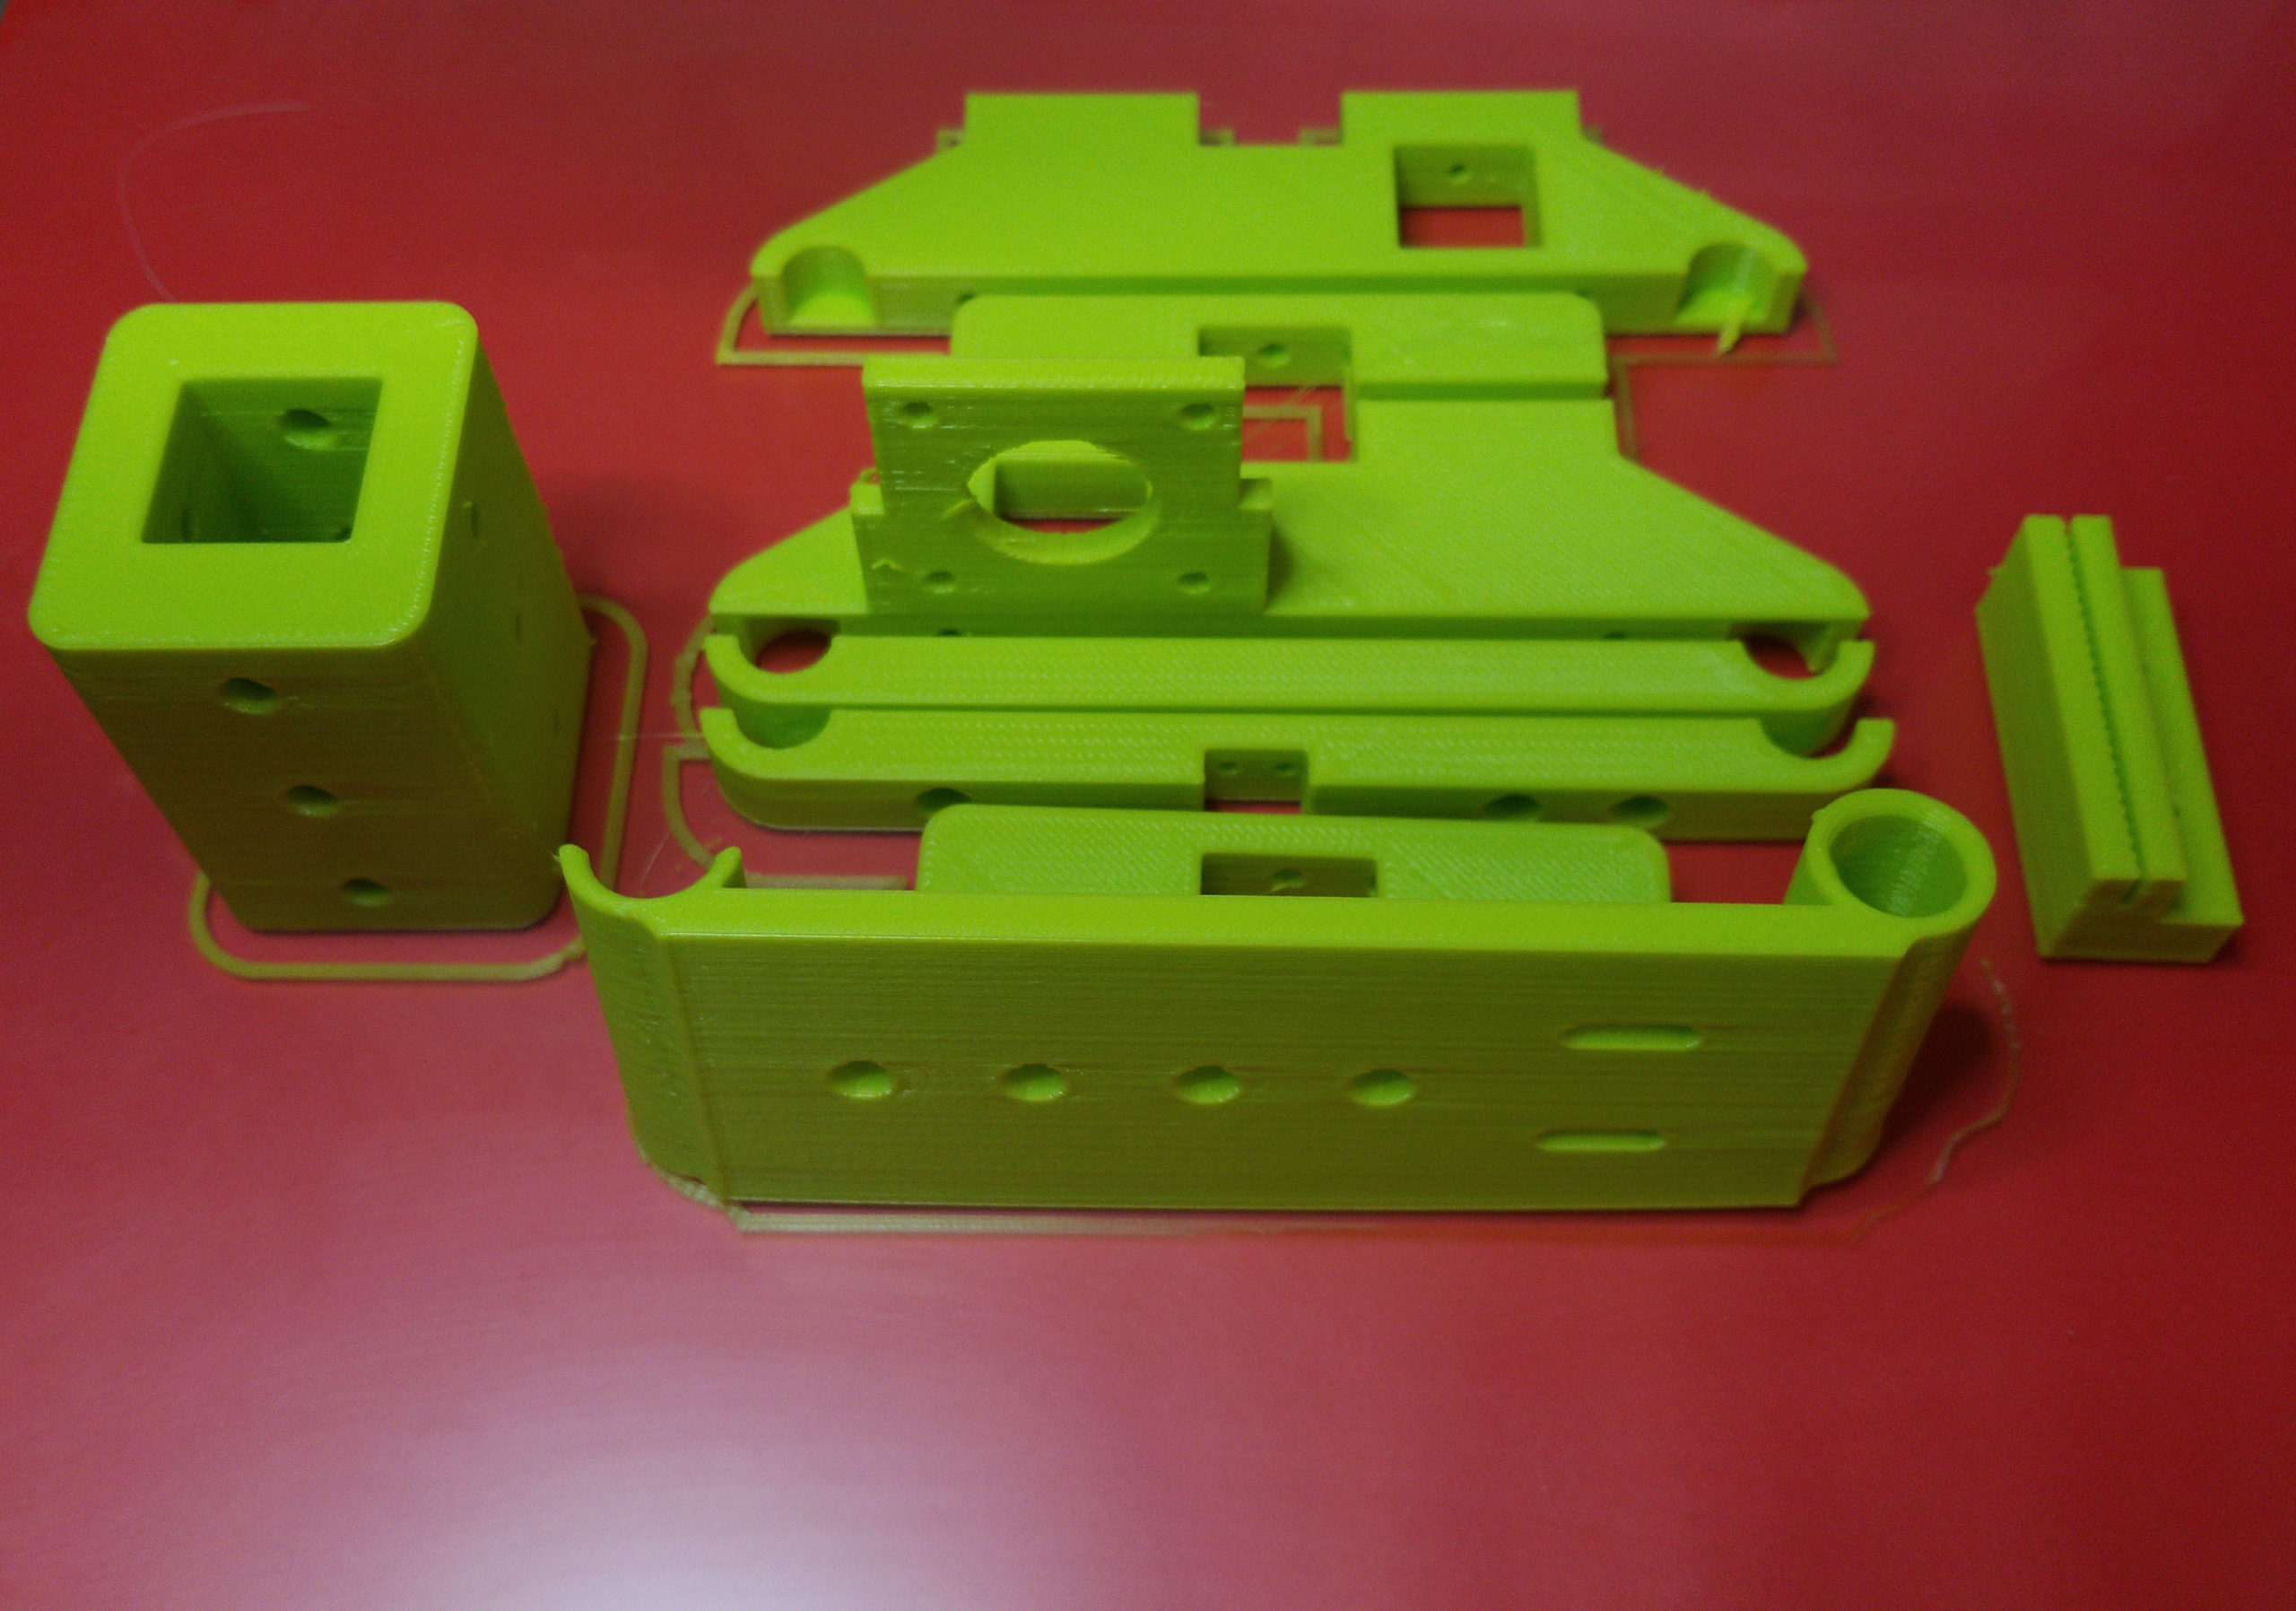
Complete slider set includes just a few 3D printed parts. You can print them yourself for free using my files.
Maximum camera travel distance: 450mm
Camera travel time intervals: 1-9999 min
Maximum camera payload: up to 1kg. ( did not test with heavy gear )
3D design file are on Thingiverse – https://www.thingiverse.com/thing:4751127
But you might need more than just a set of 3d printed parts to complete the project. Here is the list of all bits and pieces as well as required hardware:
| Hardware List | |
| Carbon fiber rails (12x50mm) | https://amzn.to/3cKBvE3 |
| Aluminum extrusion (20x65mm) | https://amzn.to/2MuCX2R |
| Stepper motor | https://amzn.to/3pU07Ov |
| Stepper motor pulley 20T | https://amzn.to/2O1Kzdi |
| Pulley 20T (3mm id) | https://amzn.to/2MtlpEd |
| GT2 belt | https://amzn.to/3rviY2N |
| M3x10 bolts | https://amzn.to/3oMCZ2Y |
| M3x6 bolts | https://amzn.to/3oMCZ2Y |
| M4x20 bolts | https://amzn.to/3pTgivo |
| M3x40 bolts | https://amzn.to/3twmxaQ |
| 1/4 bolt | Home Depot |
| M3 nuts | https://amzn.to/3oMCZ2Y |
| Electronics | |
| Adafruit ItsyBitsy nRF52840 Express – Bluetooth LE | https://www.adafruit.com/product/4481 |
| A4988 stepper driver controller ( any of your liking ) | https://amzn.to/3cJUK0D |
| Stepper Driver board | https://amzn.to/3cKWmHq |
| LM7805 5V regulator (any of your liking ) | https://amzn.to/2MDYcPt |
| Capacitor | |
| Power switch | https://amzn.to/3pVI8XP |
| 12VDC/2A power supply with 5.5mm barrel connector | Repurposed one from old wireless router |
| Barrel DC socket | https://amzn.to/2N3Iz40 |
| Limit switch | https://amzn.to/3rrDyAS |
| Connecting wires | https://amzn.to/3rpSD5Z |

Check out this stop motion demonstration video to see how the set is assembled:
Software:
Software components consist of 2 major pieces: microcontroller code and Android app. Make sure you have followed instructions from Adafruit on how to install support for ItsyBitsy nRF52840 Express for your Arduino IDE. Then grab sources from github – https://github.com/xchg-dot-ca/CameraSlider-Arduino. Build and flash your microcontroller.
For Android, turn your phone into development mode in order to be able to side-load app to the phone. The app is not available on Play Store. It is a modified clone of nRF UART app for Android released under the same license. Get the sources and build the app using Android studio 4: https://github.com/xchg-dot-ca/Android-nRF-UART/tree/cameraslider
User interface is self explanatory.
Comments and suggestions are welcome.
Enjoy!