Got this oldie in local thriftstore for 10… but as with many of these models SACD is not being recognized! Let see what we can do to bring this capable SACD player back to life !
Analysis
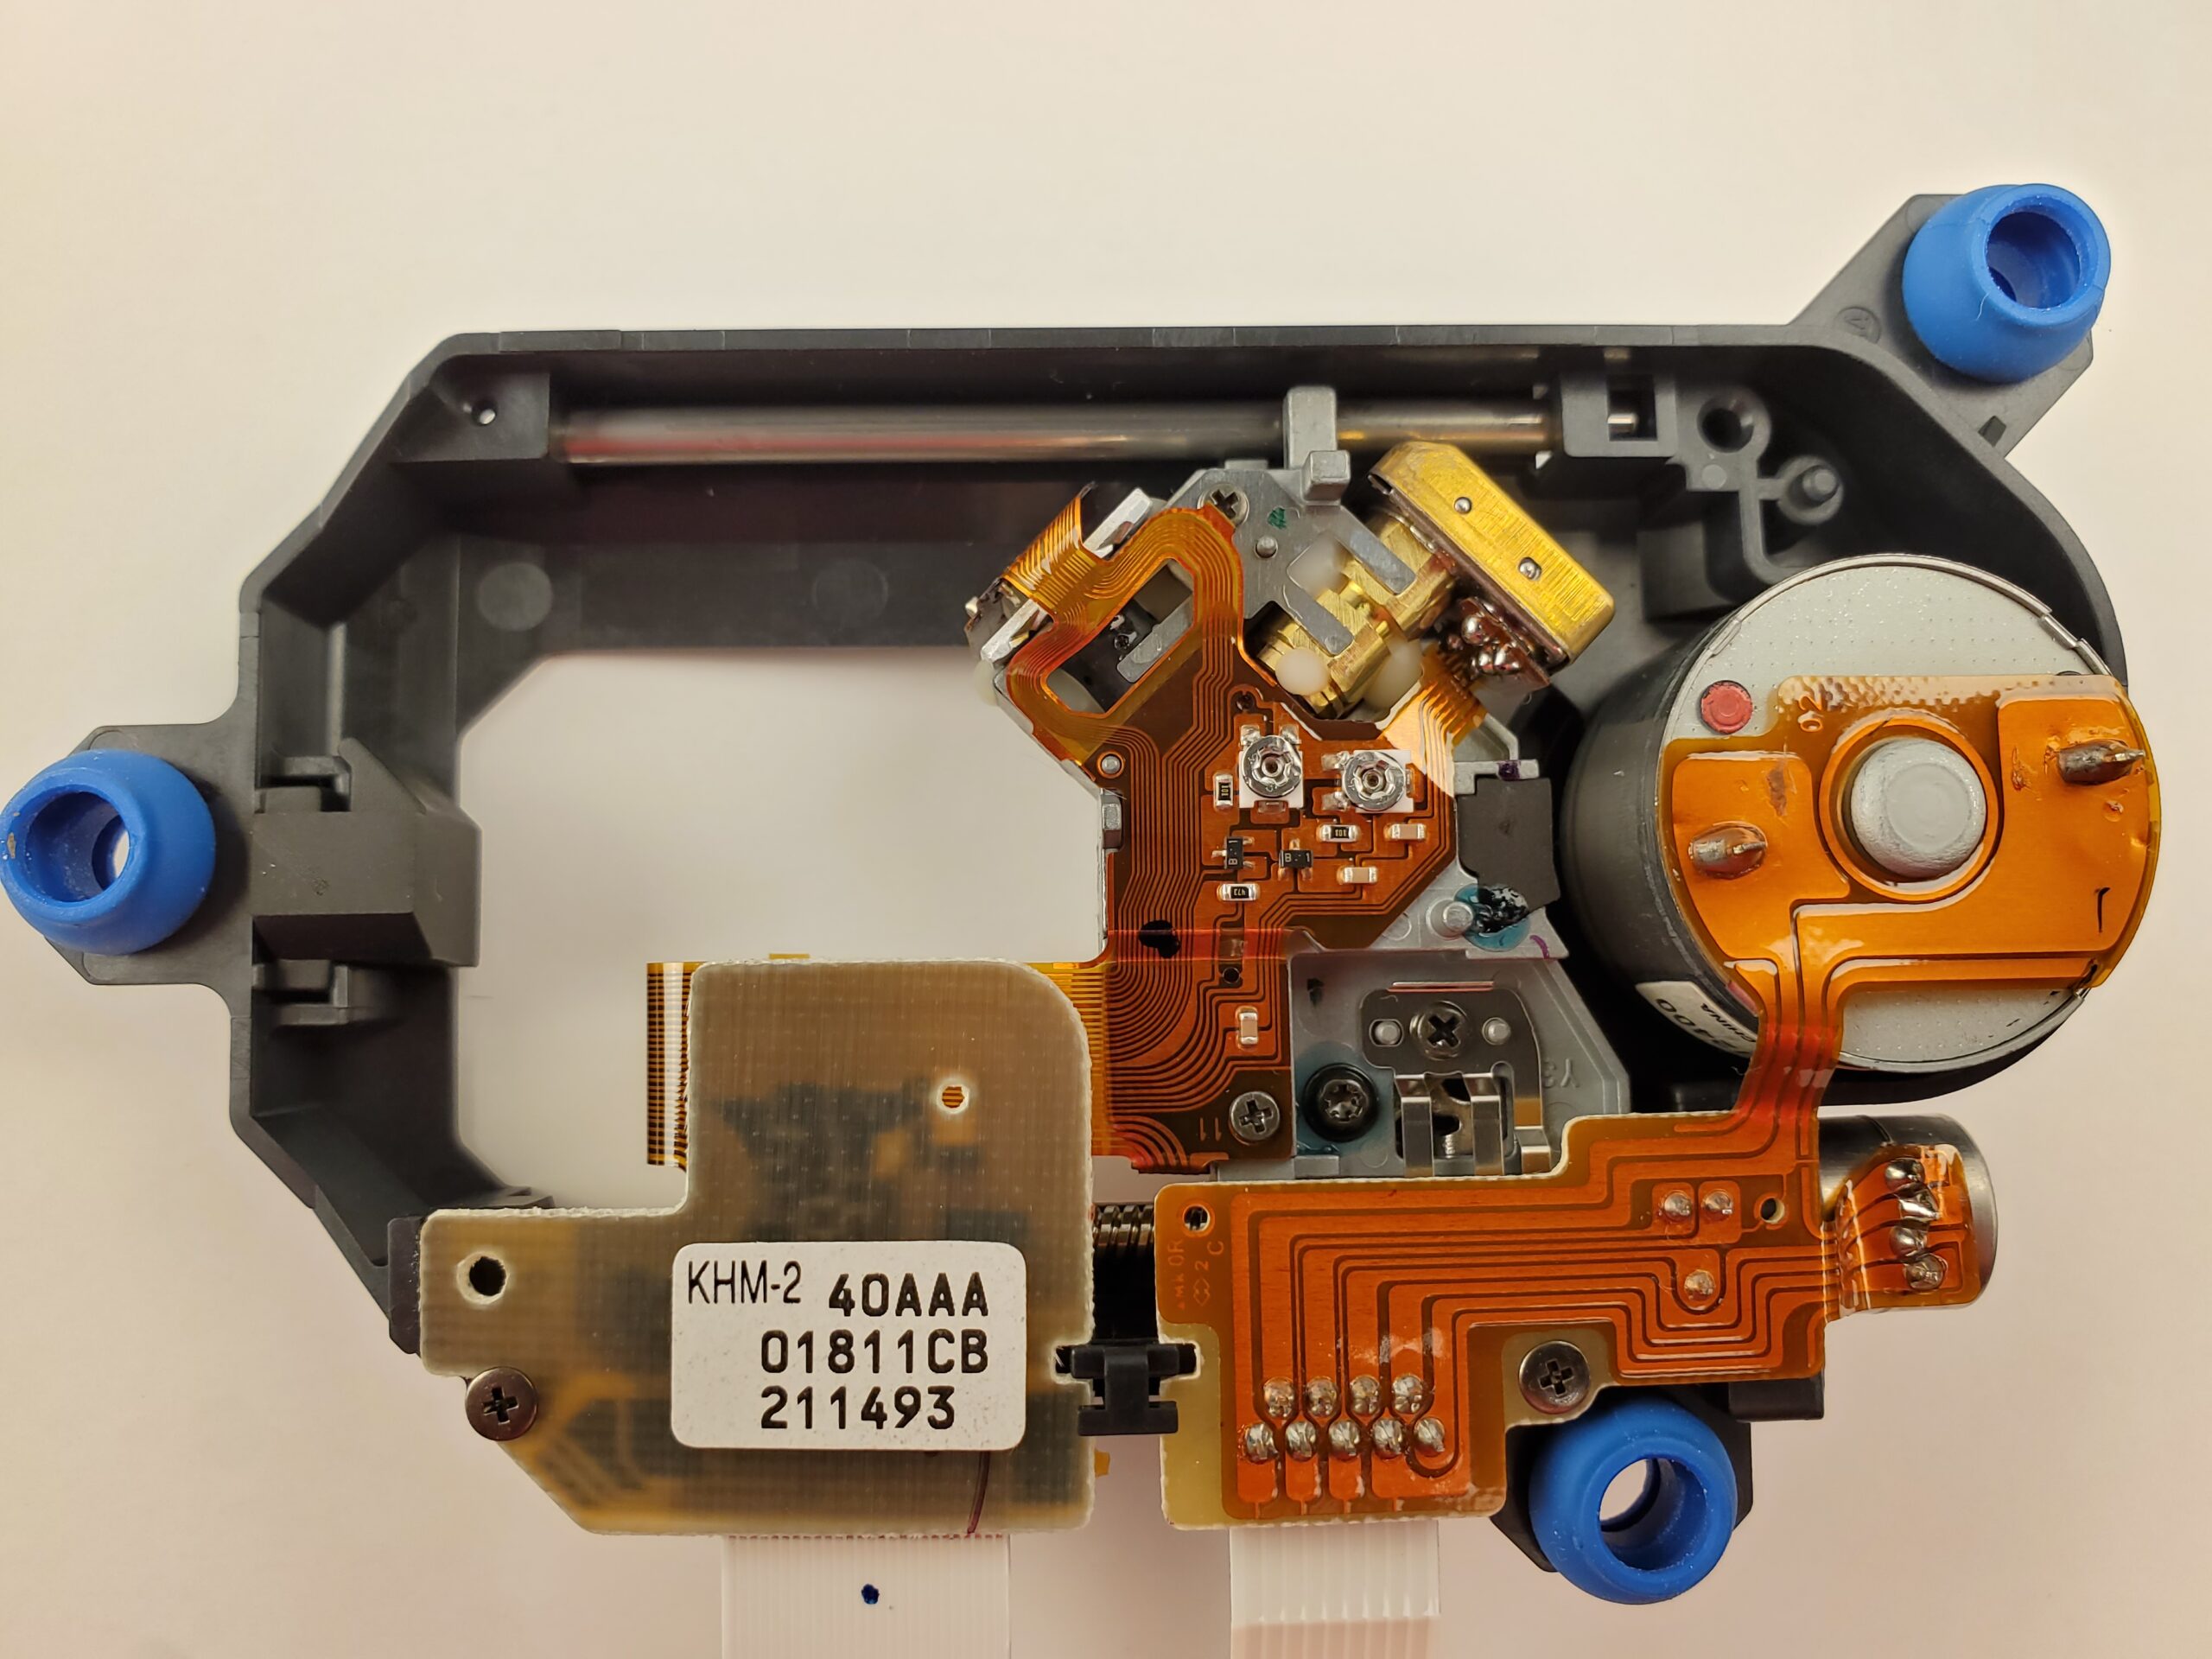
Typically DVD player with SACD capability of that era ( early 2000nds ) are suffering with issue of not being able to read HD layer of SACD. CD layer plays well, but device does not recognize HD layer and does not let you to switch into HD mode or Multichannel mode. In many cases this is the issue with Laser pickup when Red laser is getting dim. Note: Same Red laser ( 606 nm ) is uses to play DVD-SL, DVD-DL and SACD. In this case there only one way out – is to replace Laser Pickup and in current state of affairs this is only possible from donor unit. As no such parts can be purchased from Sony anymore.
In some other cases cleaning of the optics and subsequent laser pickup calibration / alignment with SACD can be performed to restore functionality.
Please follow my video instruction how to do so!
Specs
- Black single DVD/Video CD/SACD/Audio CD player
- RMT-D140A Wireless remote
- 2 “AA” batteries
- 57″ Stereo audio RCA/video RCA patch cord
- 57″ S-Video cable
- Sampler SACD disc
- SACD title catalog
- Operating Instructions (English and French)
- Warranty sheet
- Owner registration card
- SACD registration survey (registers to win a 36″ Wega series TV/enter by 7/31/02)
- Important Safeguards
- Netflix promo card
- Info on other Sony Home Theater products
- Year 2001
- 5.3 Kg
- Disc formats: DVD, CD, VCD, SACD
- Audio formats: PCM, DD, DTS
- Signal to Noise Ratio: 115dB
- Dynamic range: 99dB
- Total harmonic distortion: 0.002%
- Line output: 2V
- Digital Output: Coaxial, Optical
- Video Connections: Component, SVHS, Composite, Scart ( eu version )
Video
Calibration
To turn the calibration mode, press on your remote:
[TITLE][CLEAN][POWER]
or
[5][CLEAN][POWER]
if your remote does not have [TITLE] button
In the main menu:
press 1 for:
“1. Drive Auto Adjustment”
then press 4 for:
“4 LCD Disc”
then follow onscreen instructions but insert dual mode SACD instead of LCD
Repeat for all other types of disc
When it is finished power down device
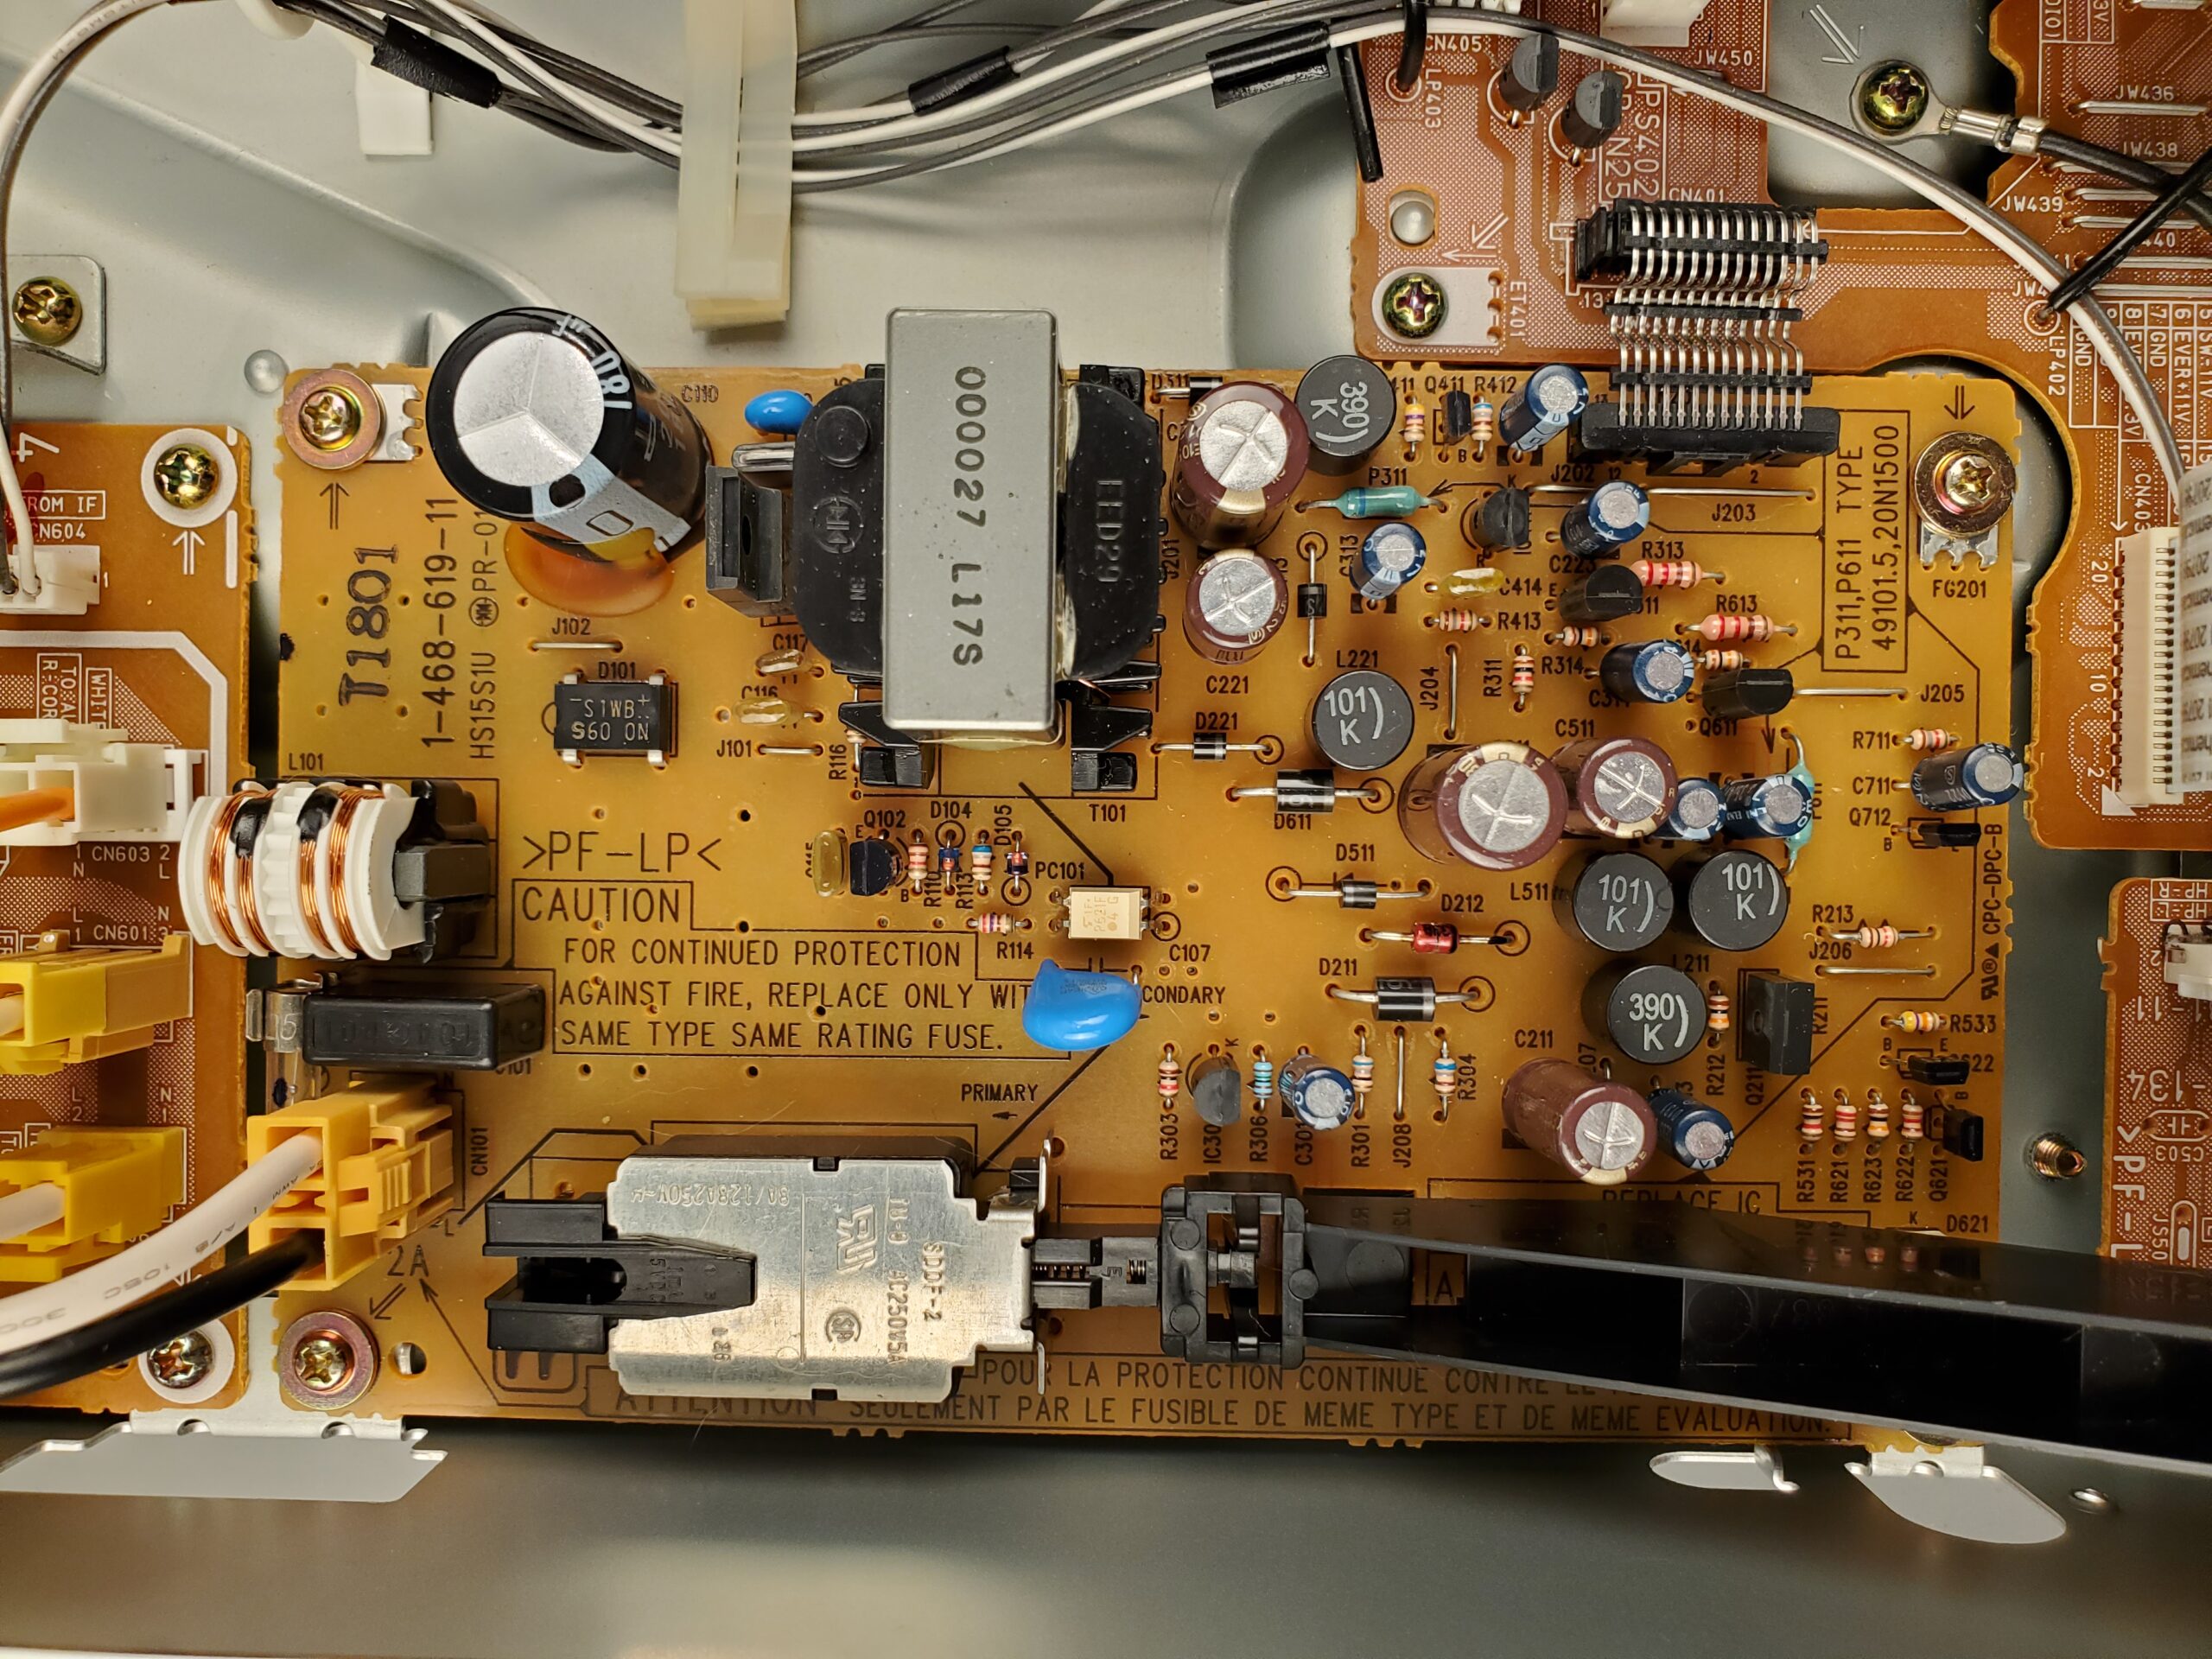
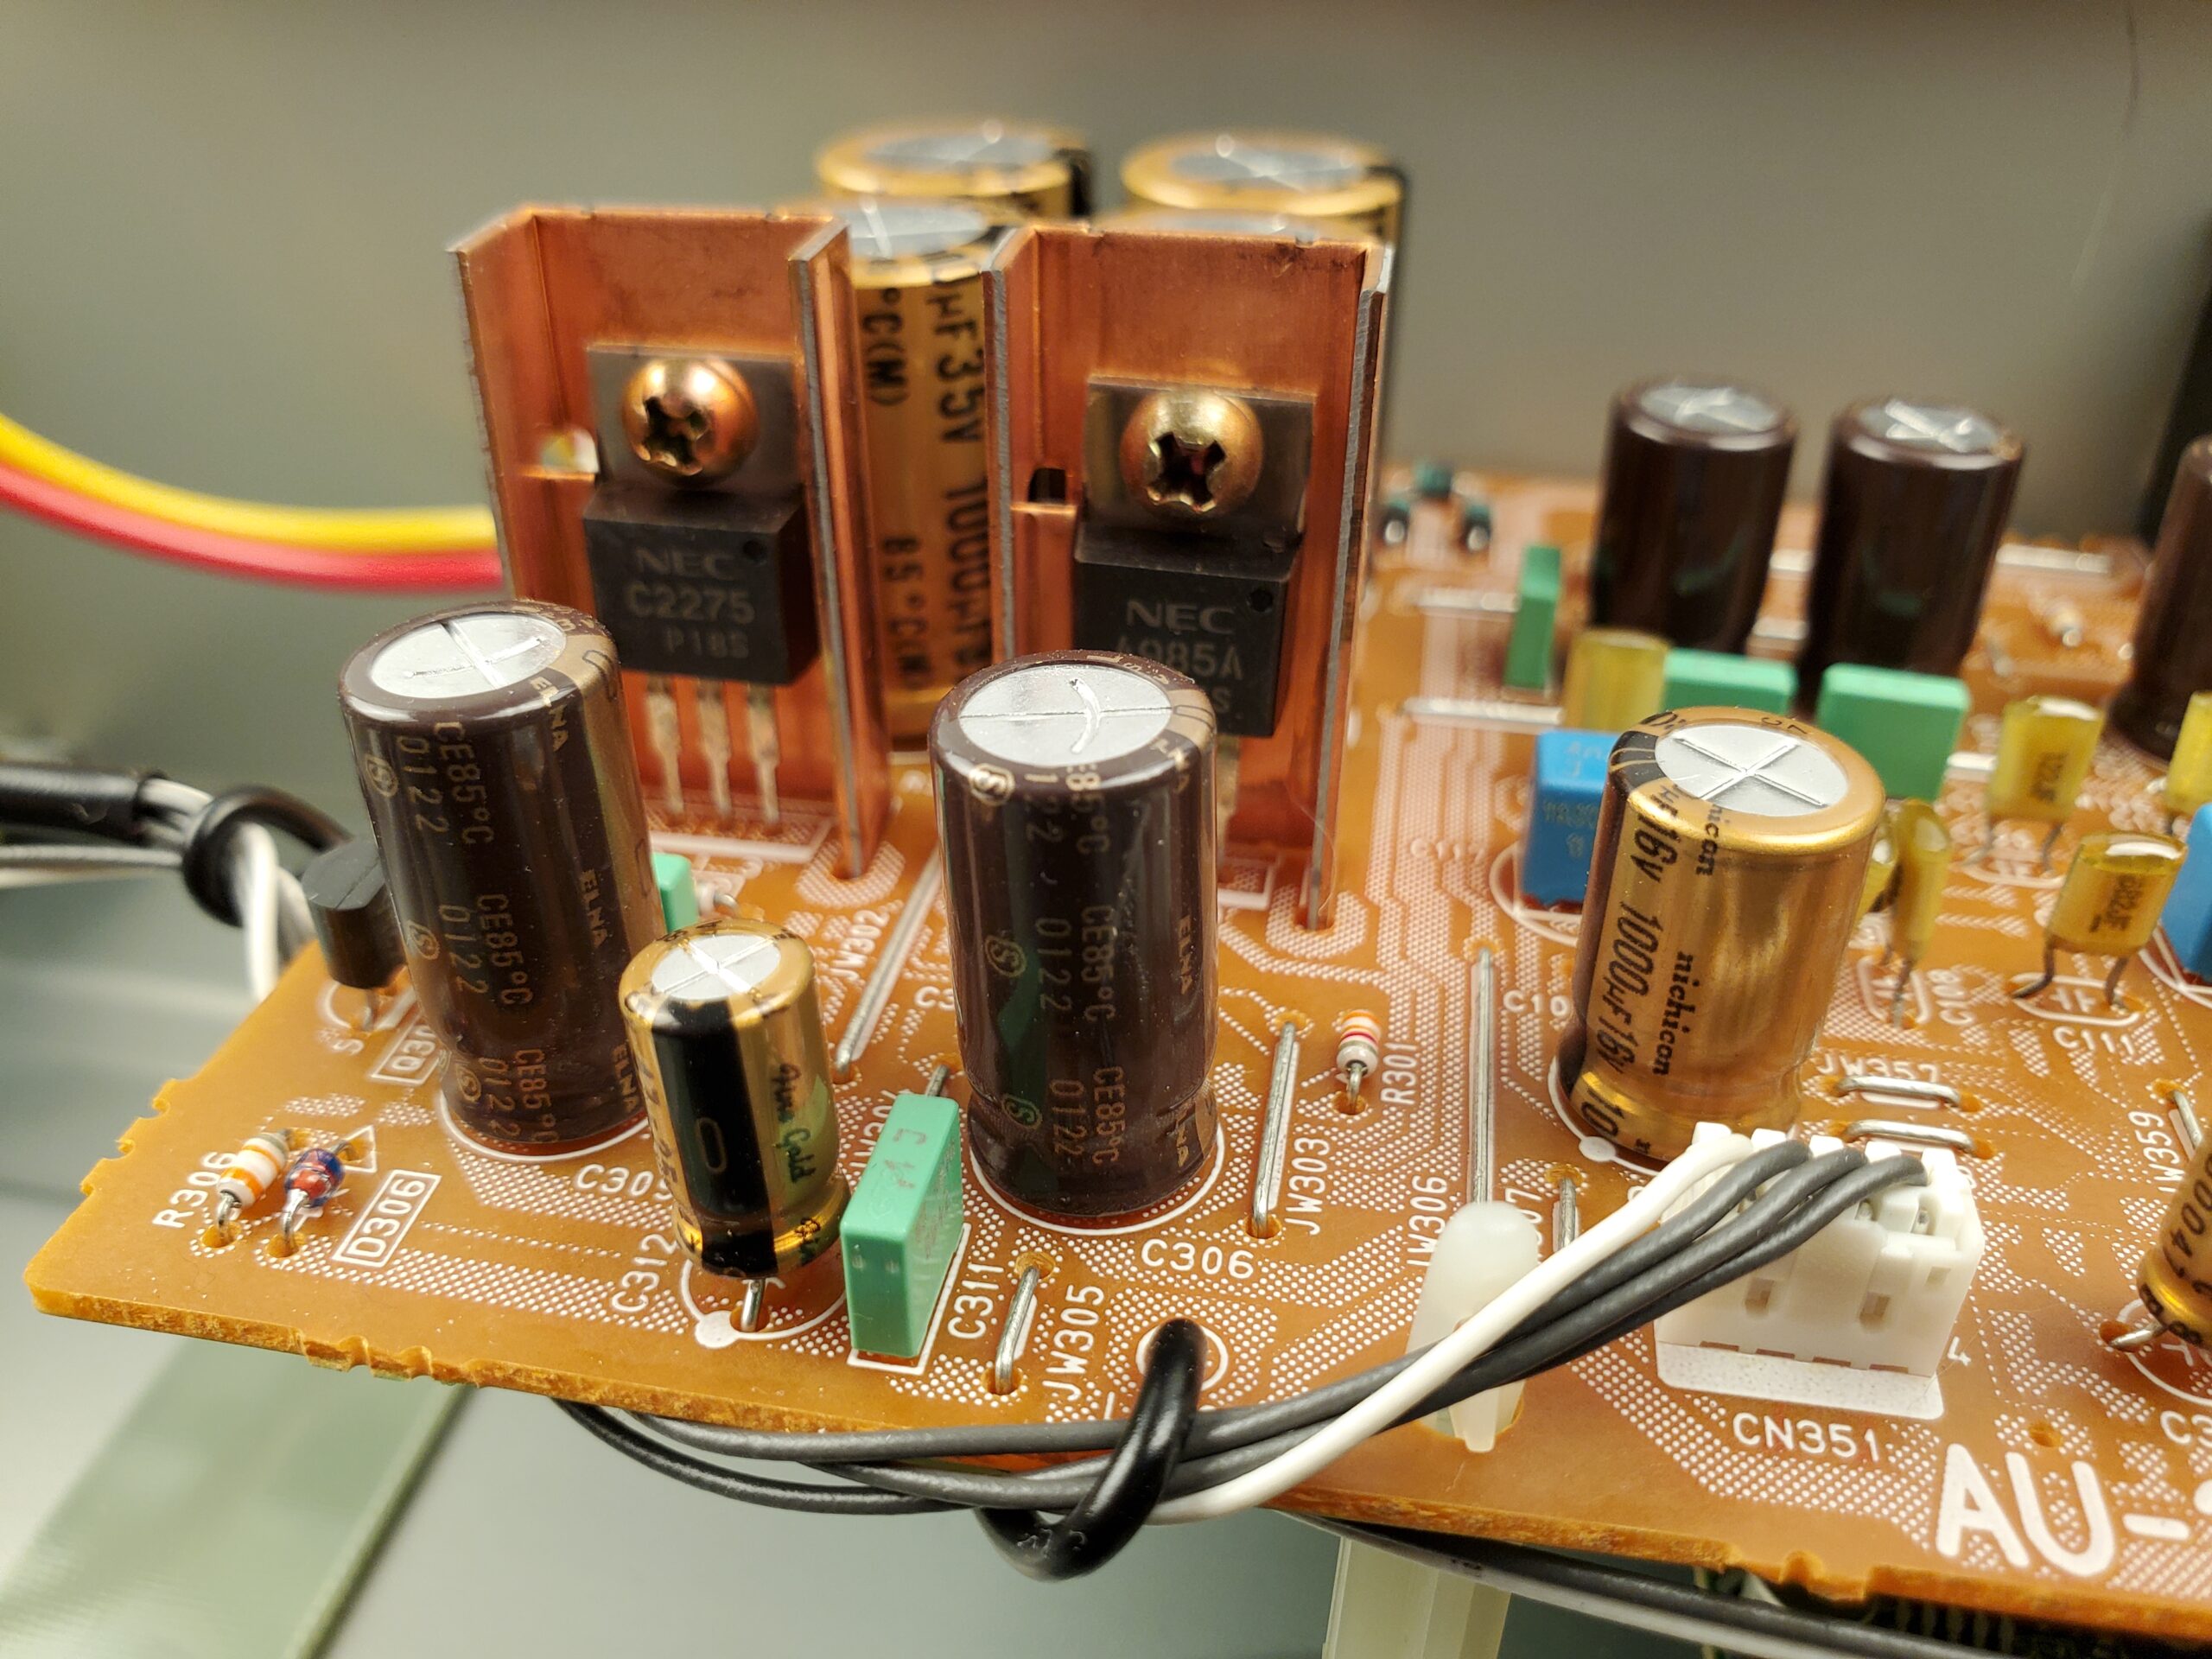
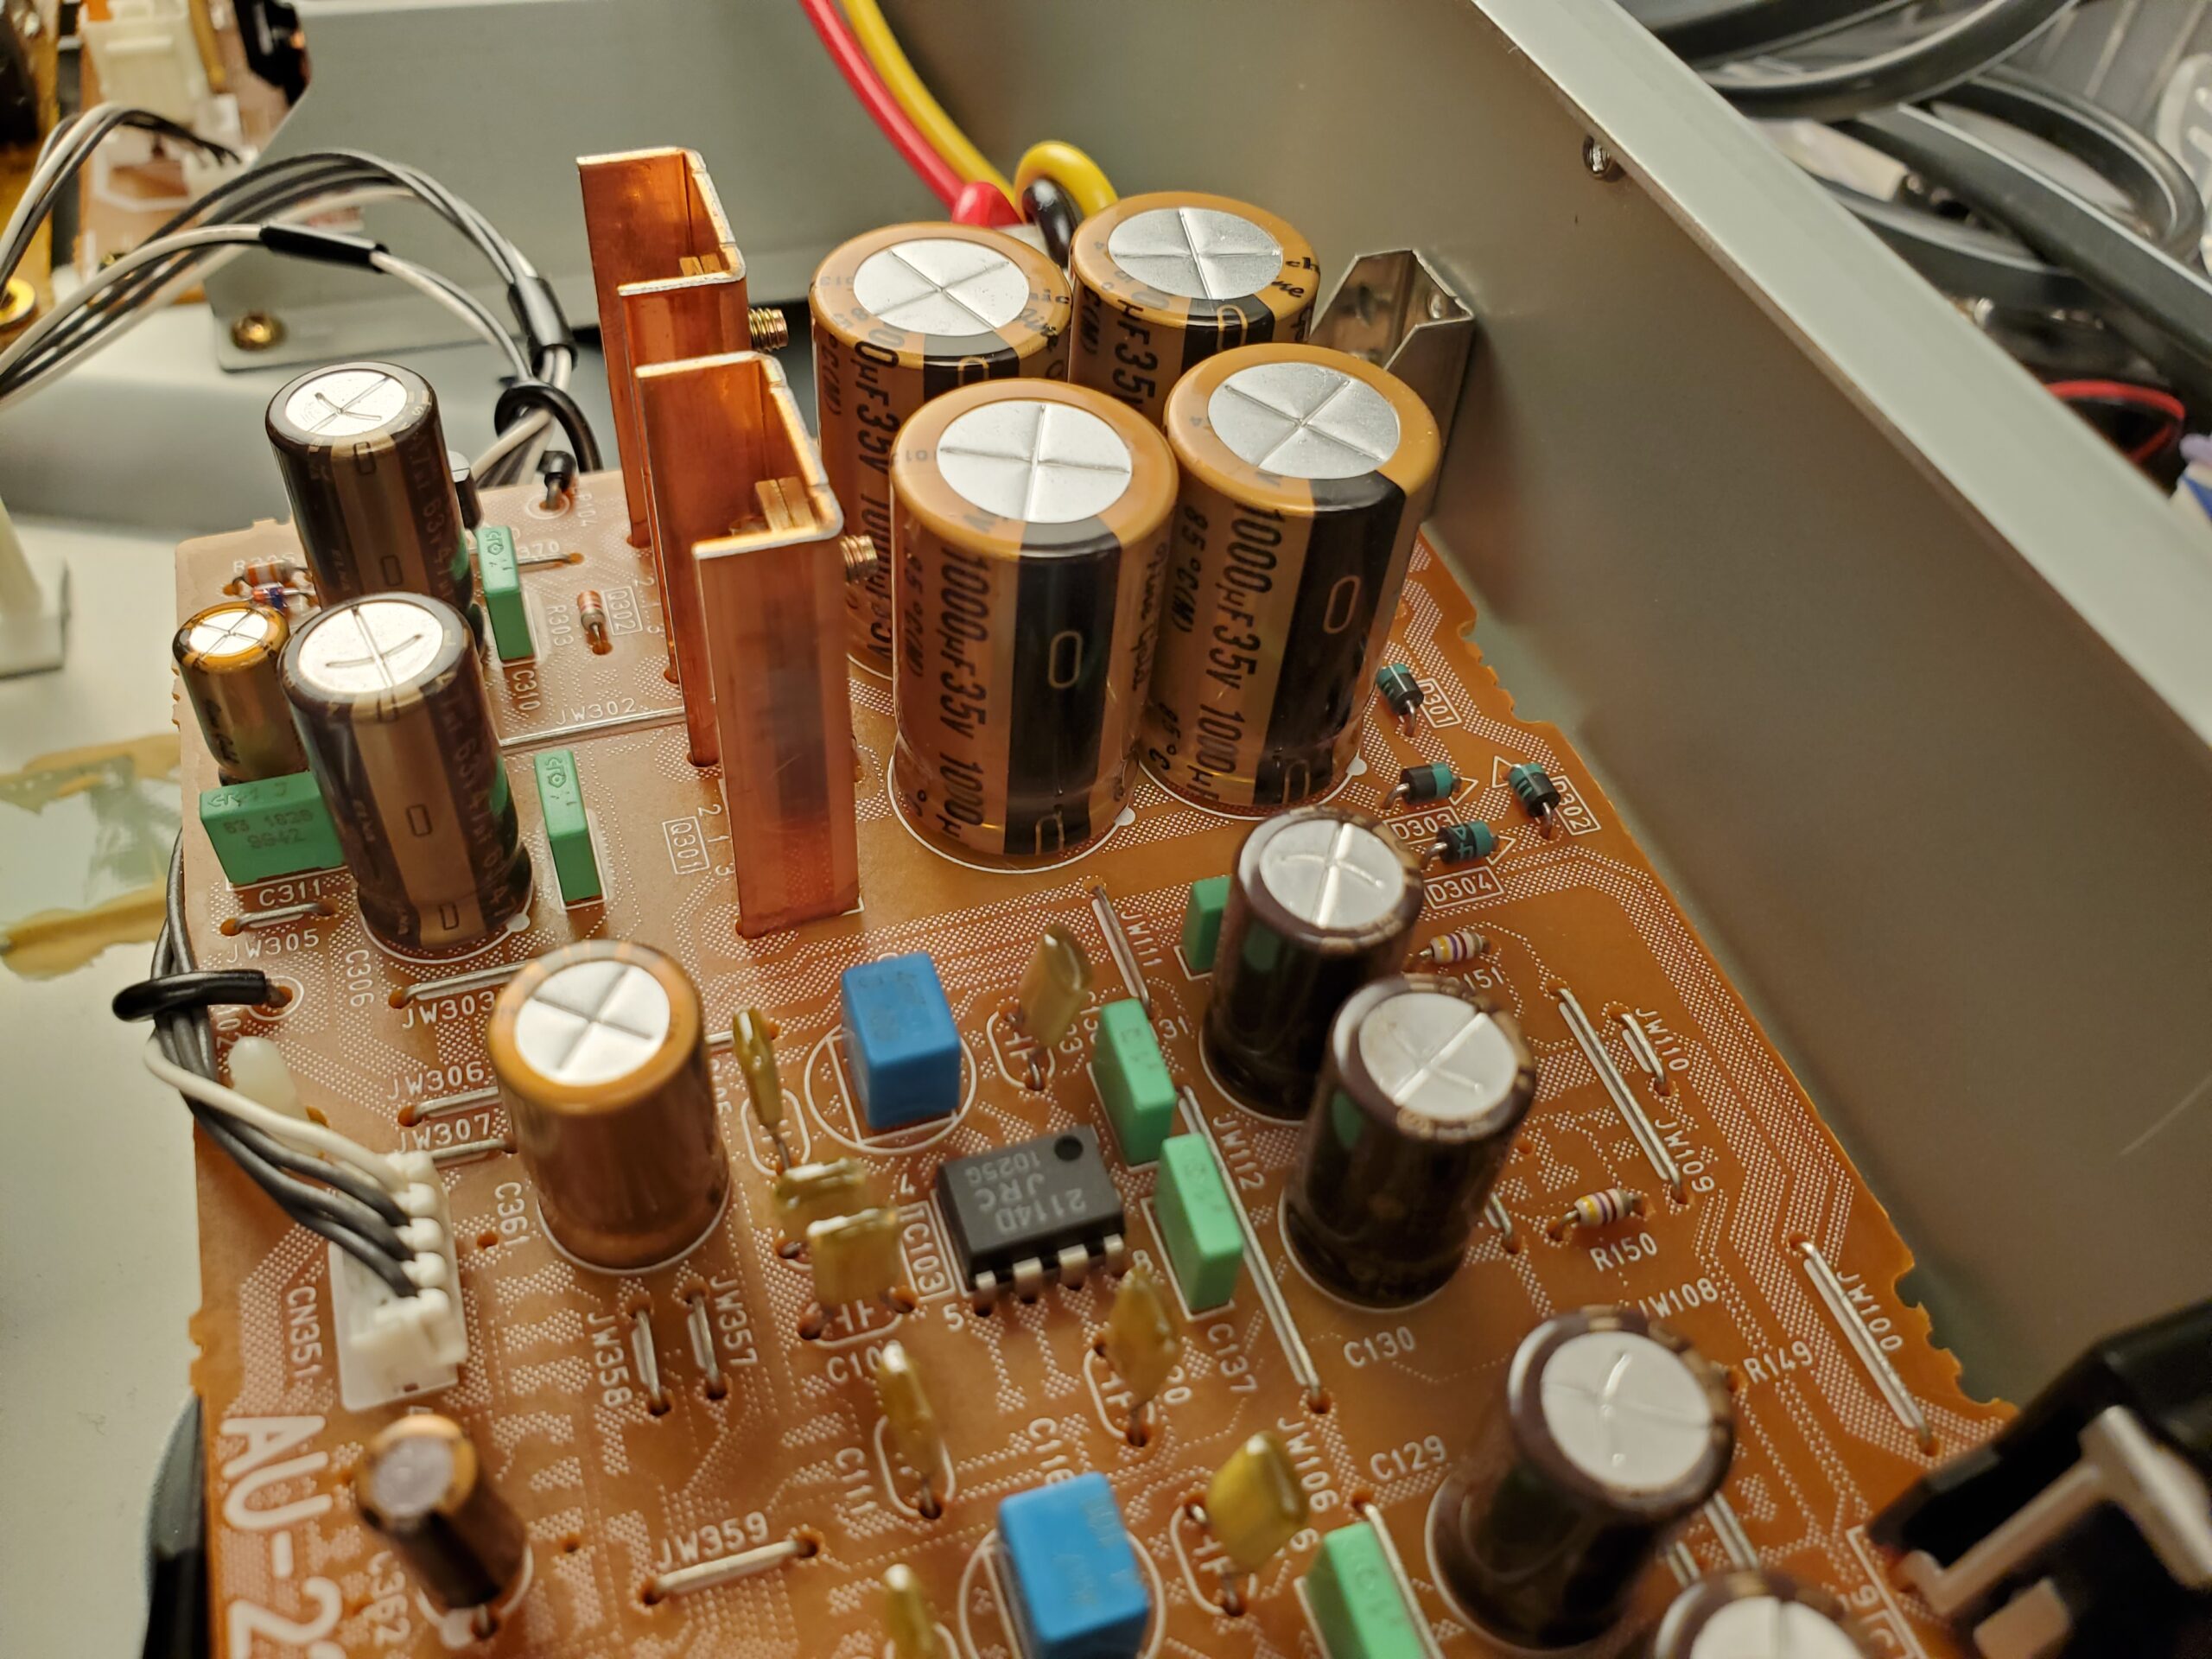
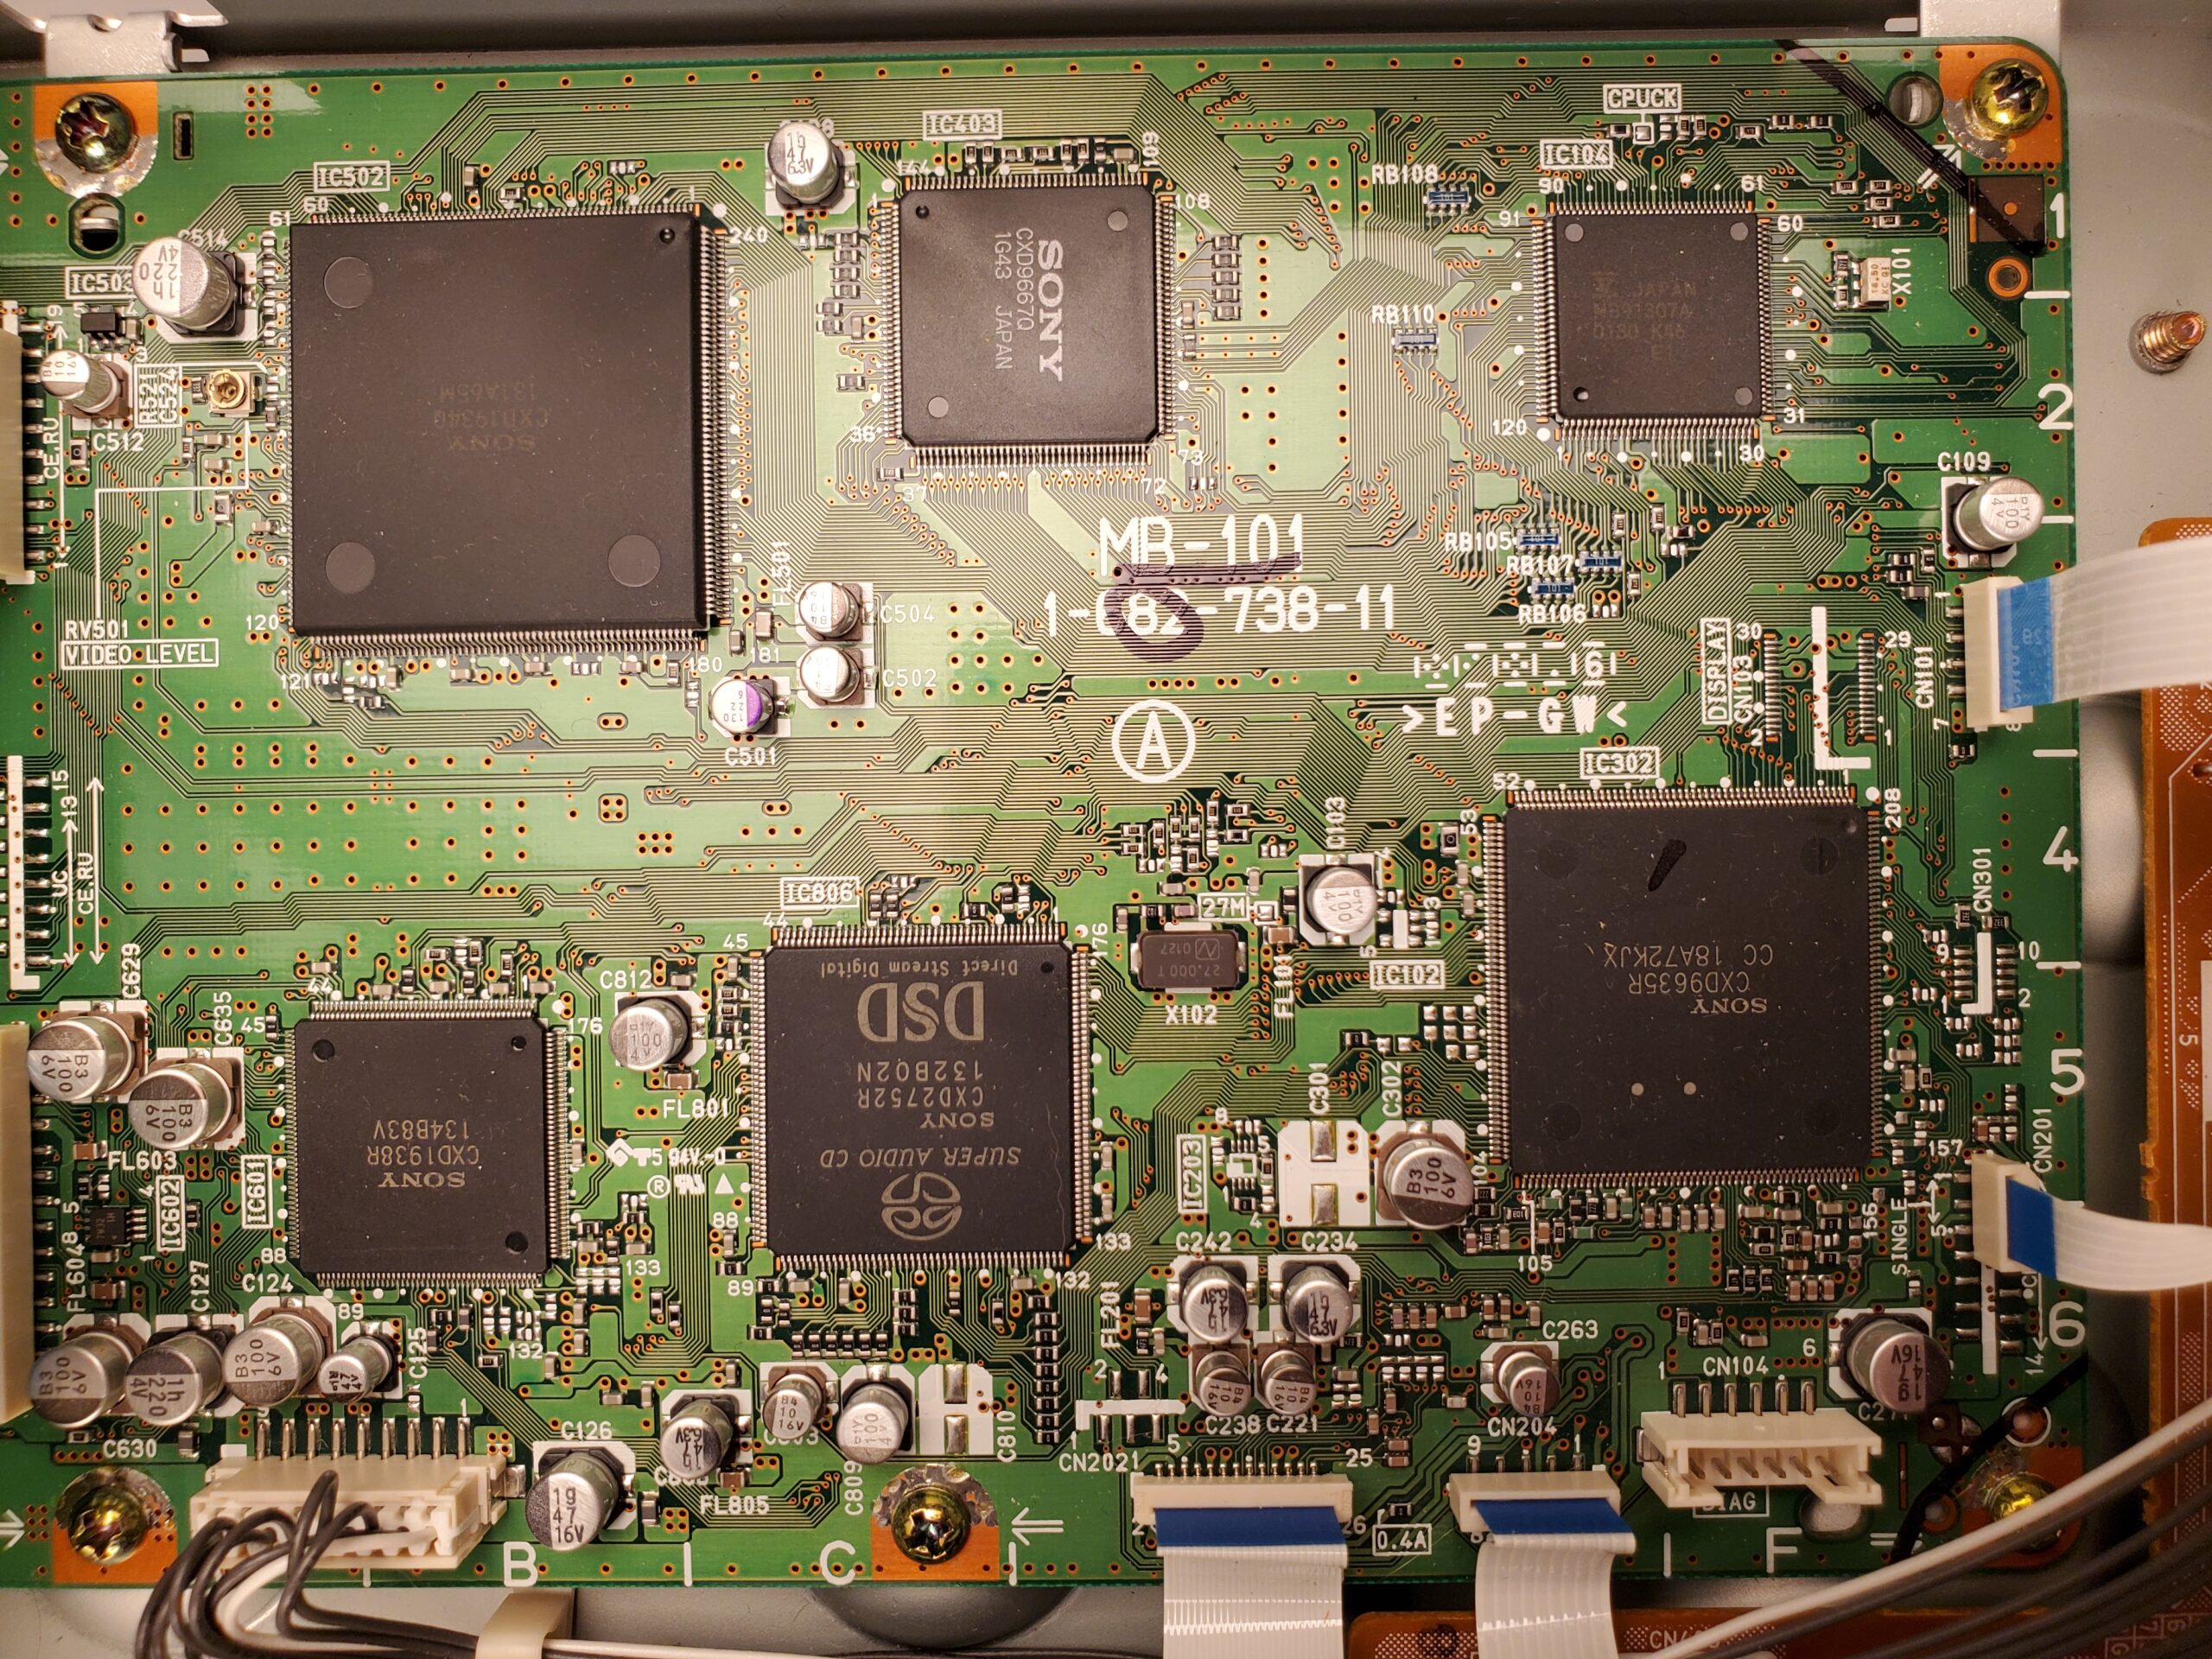
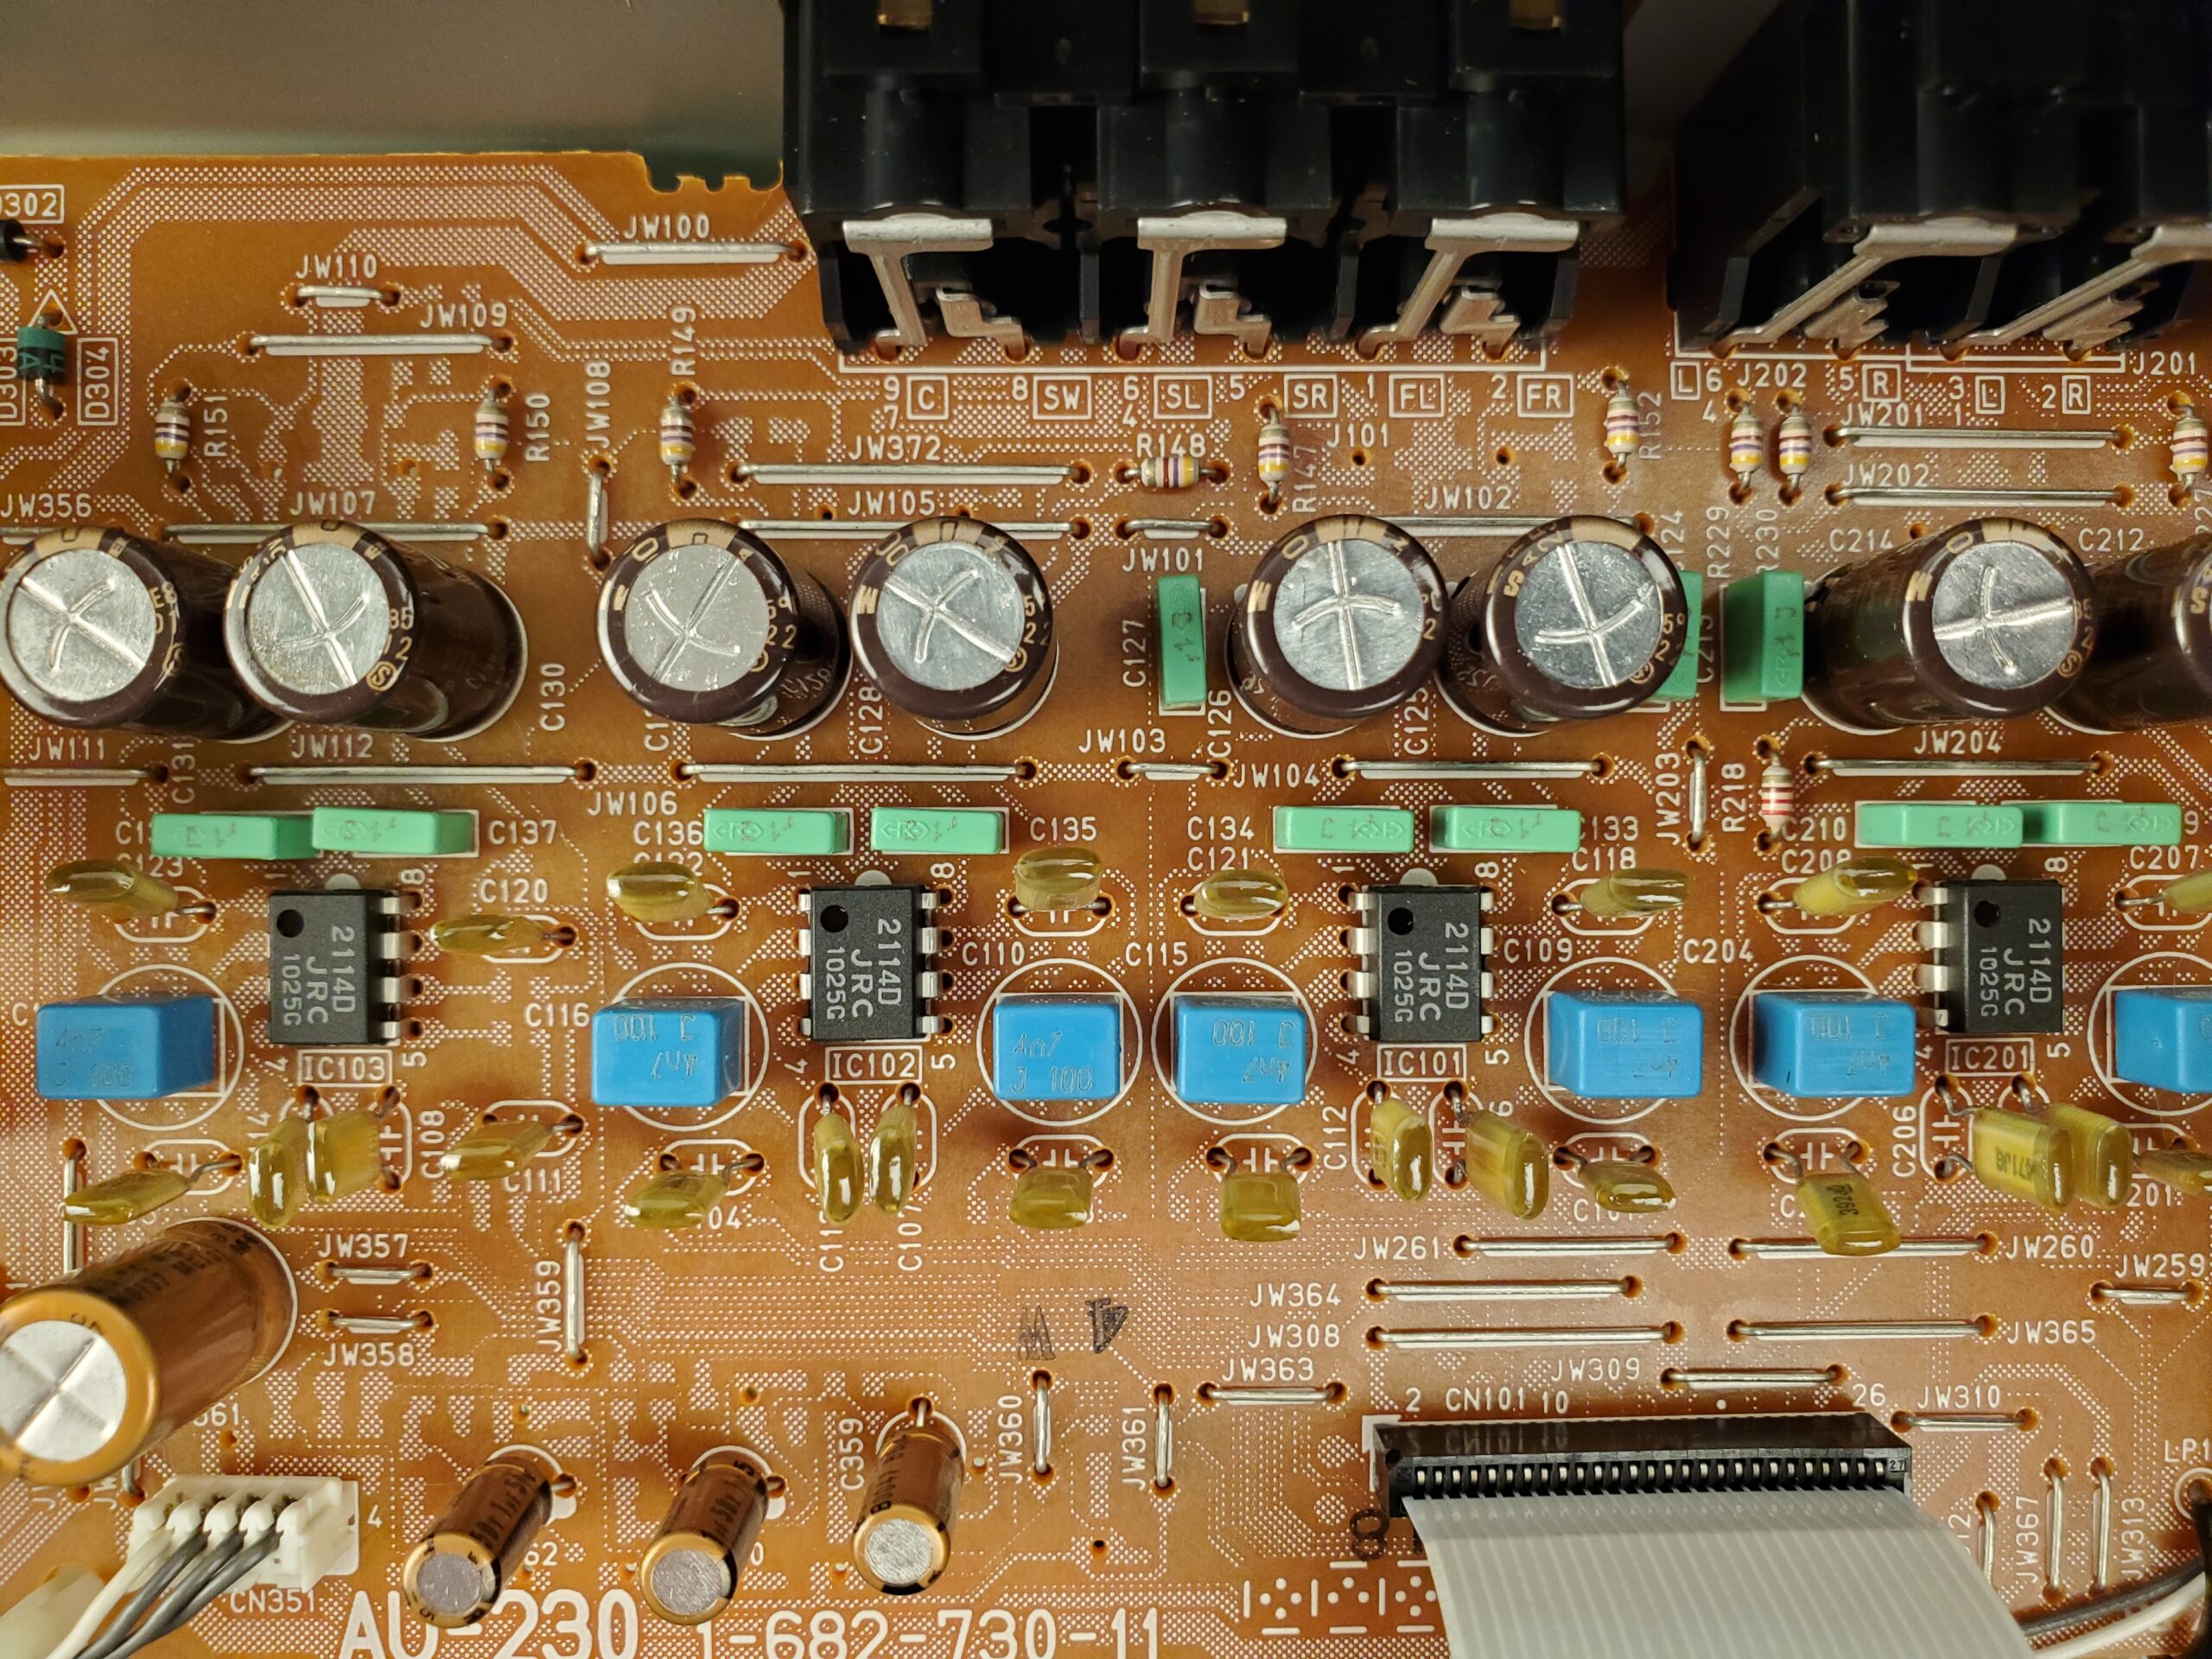
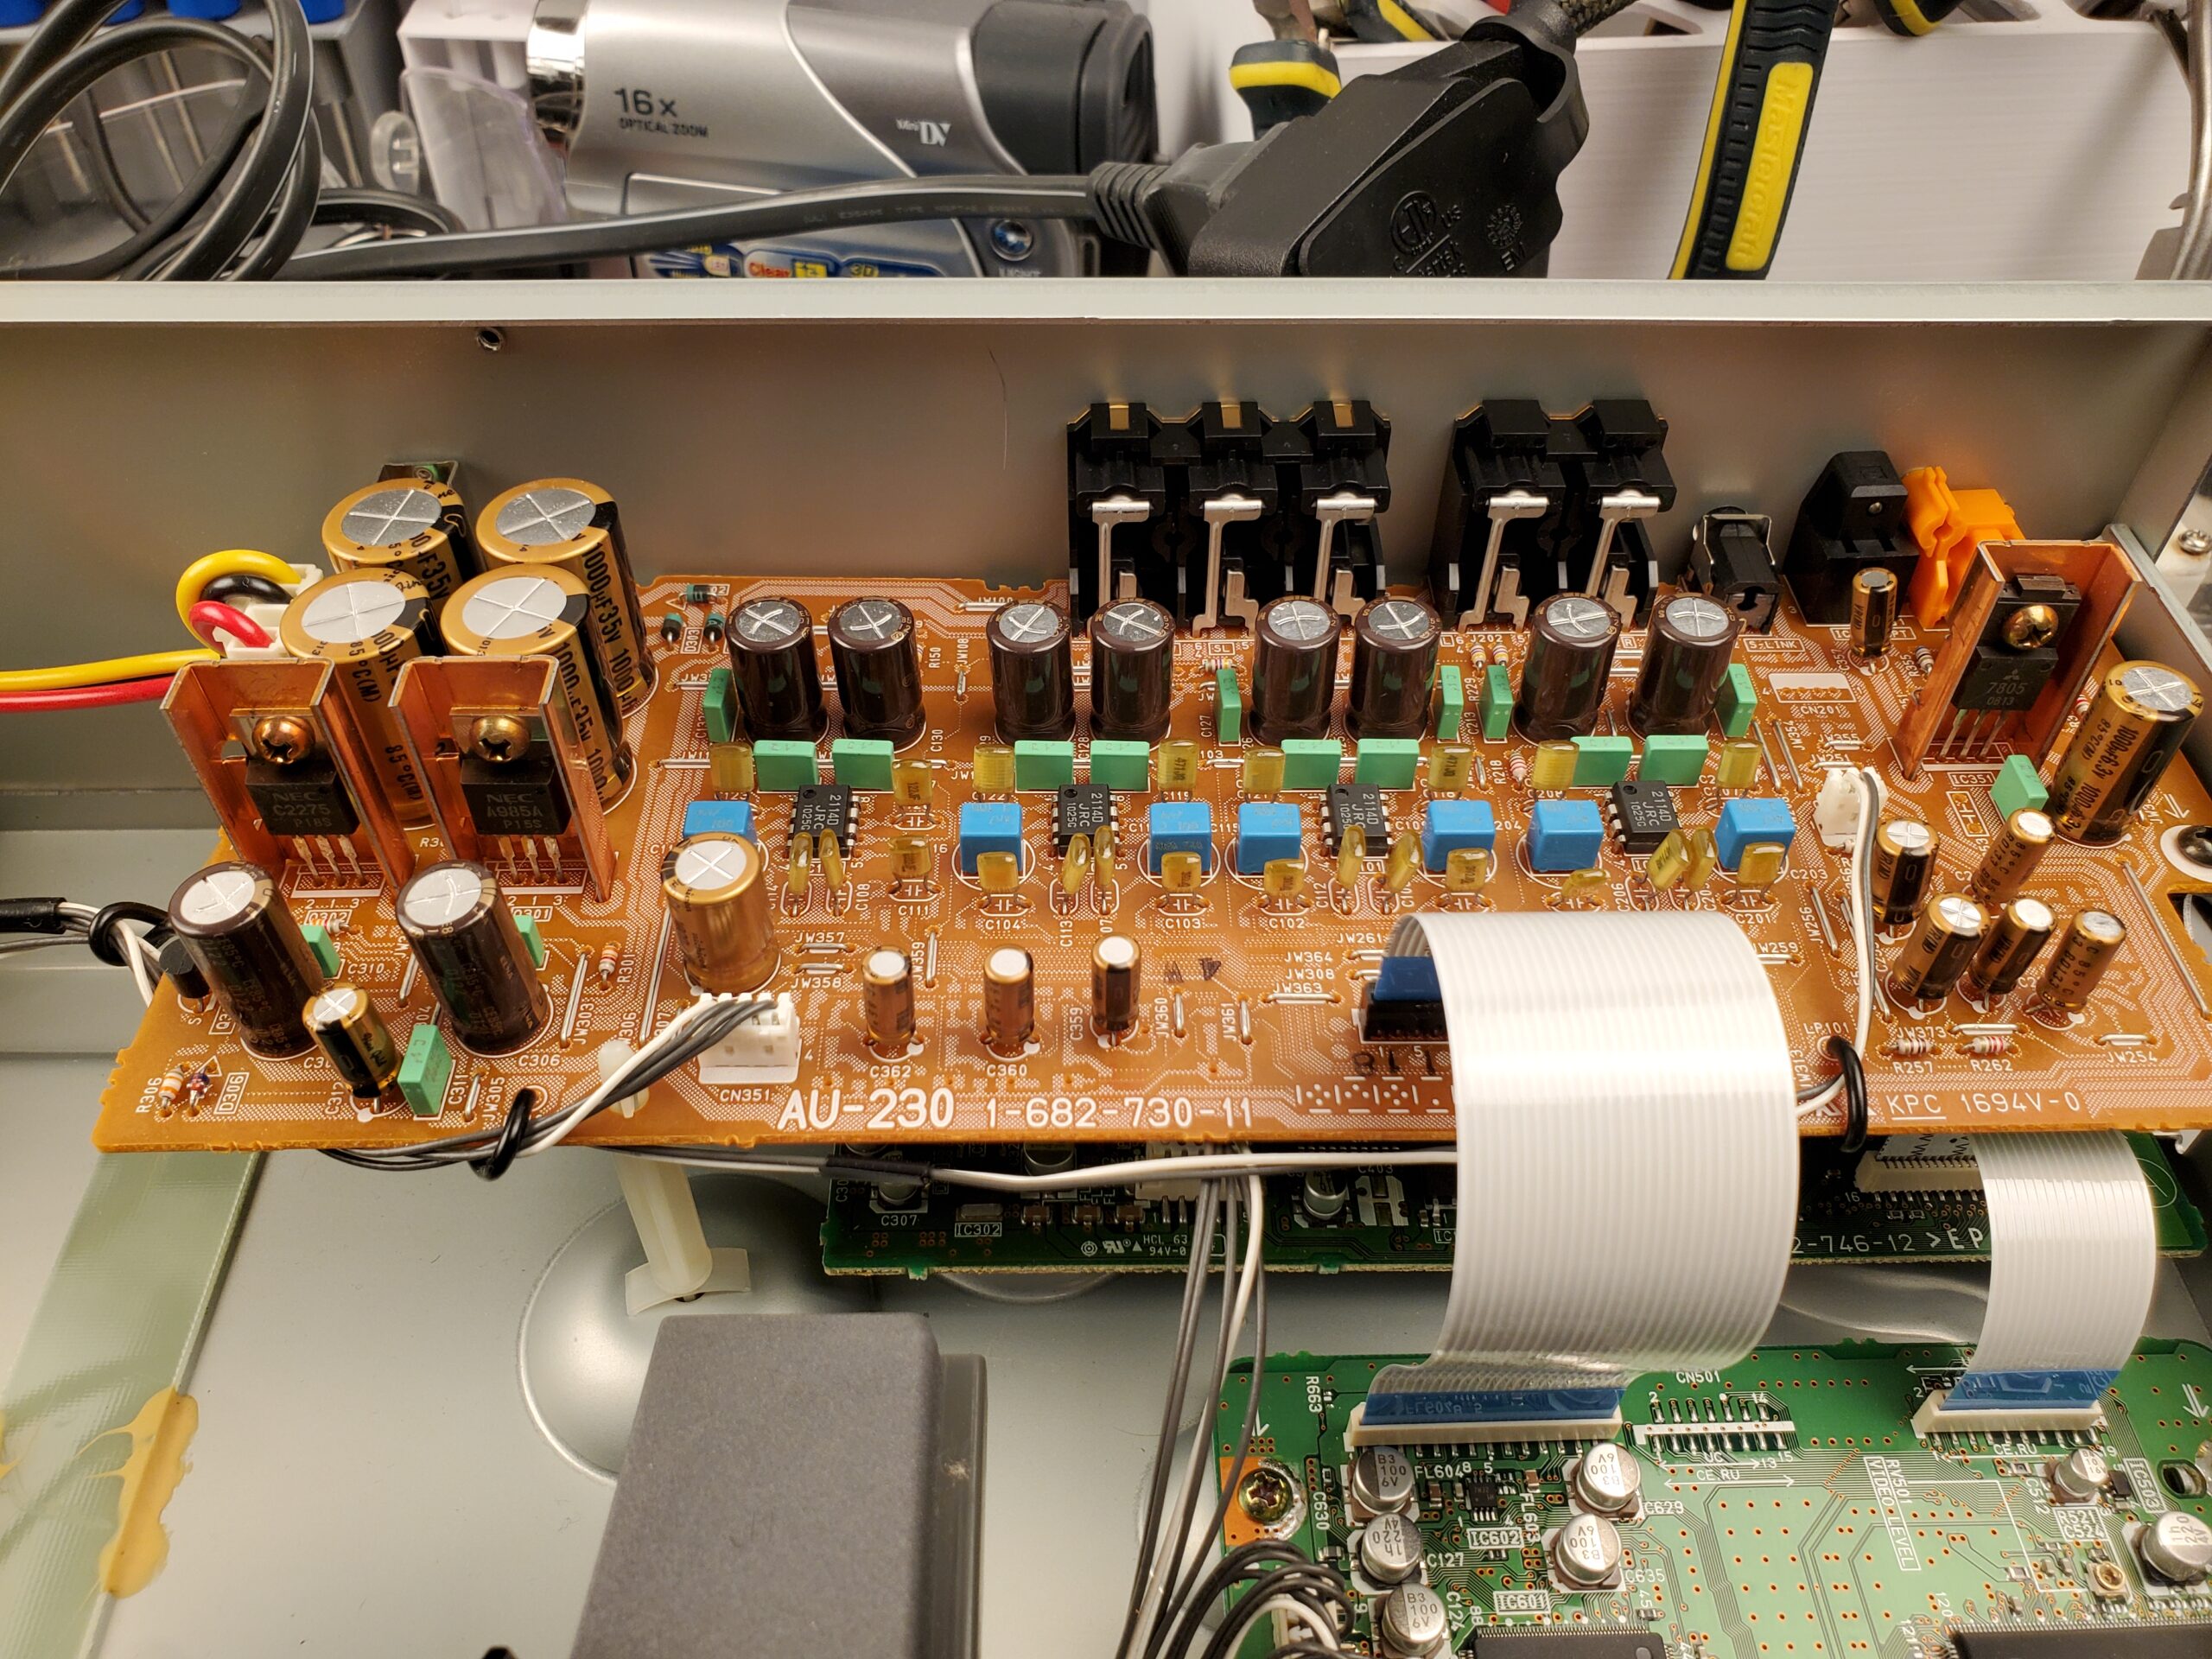
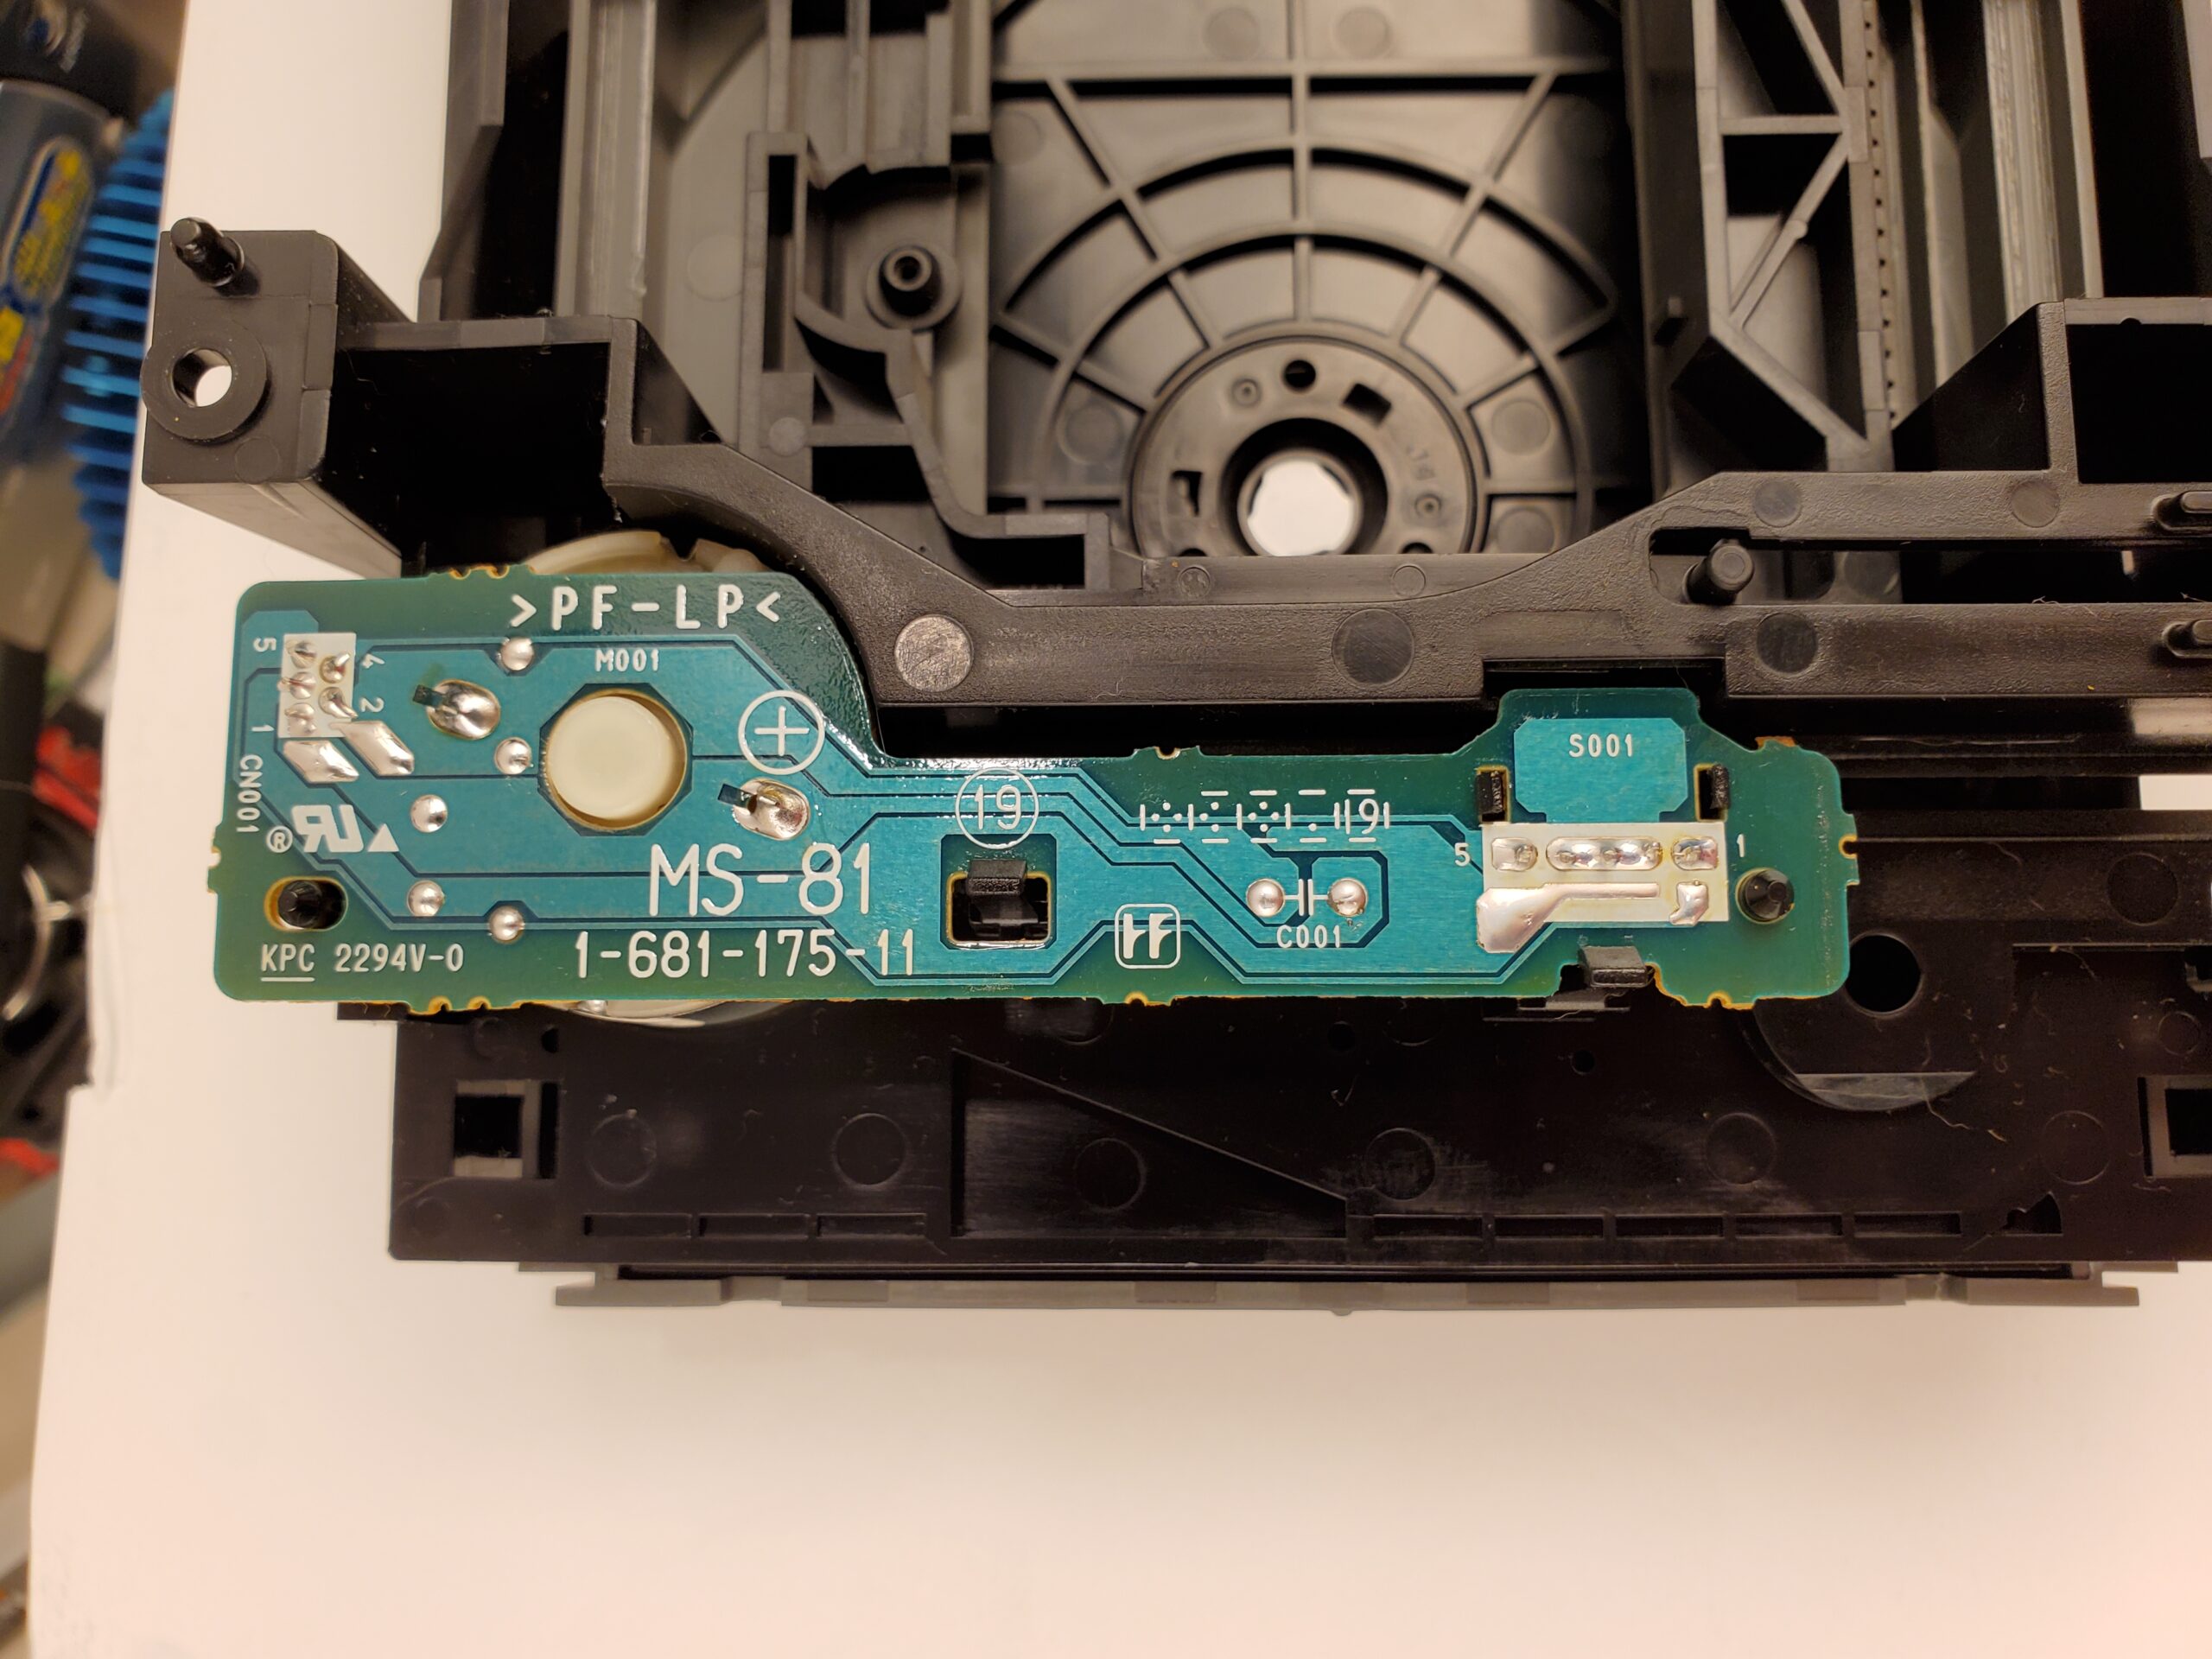
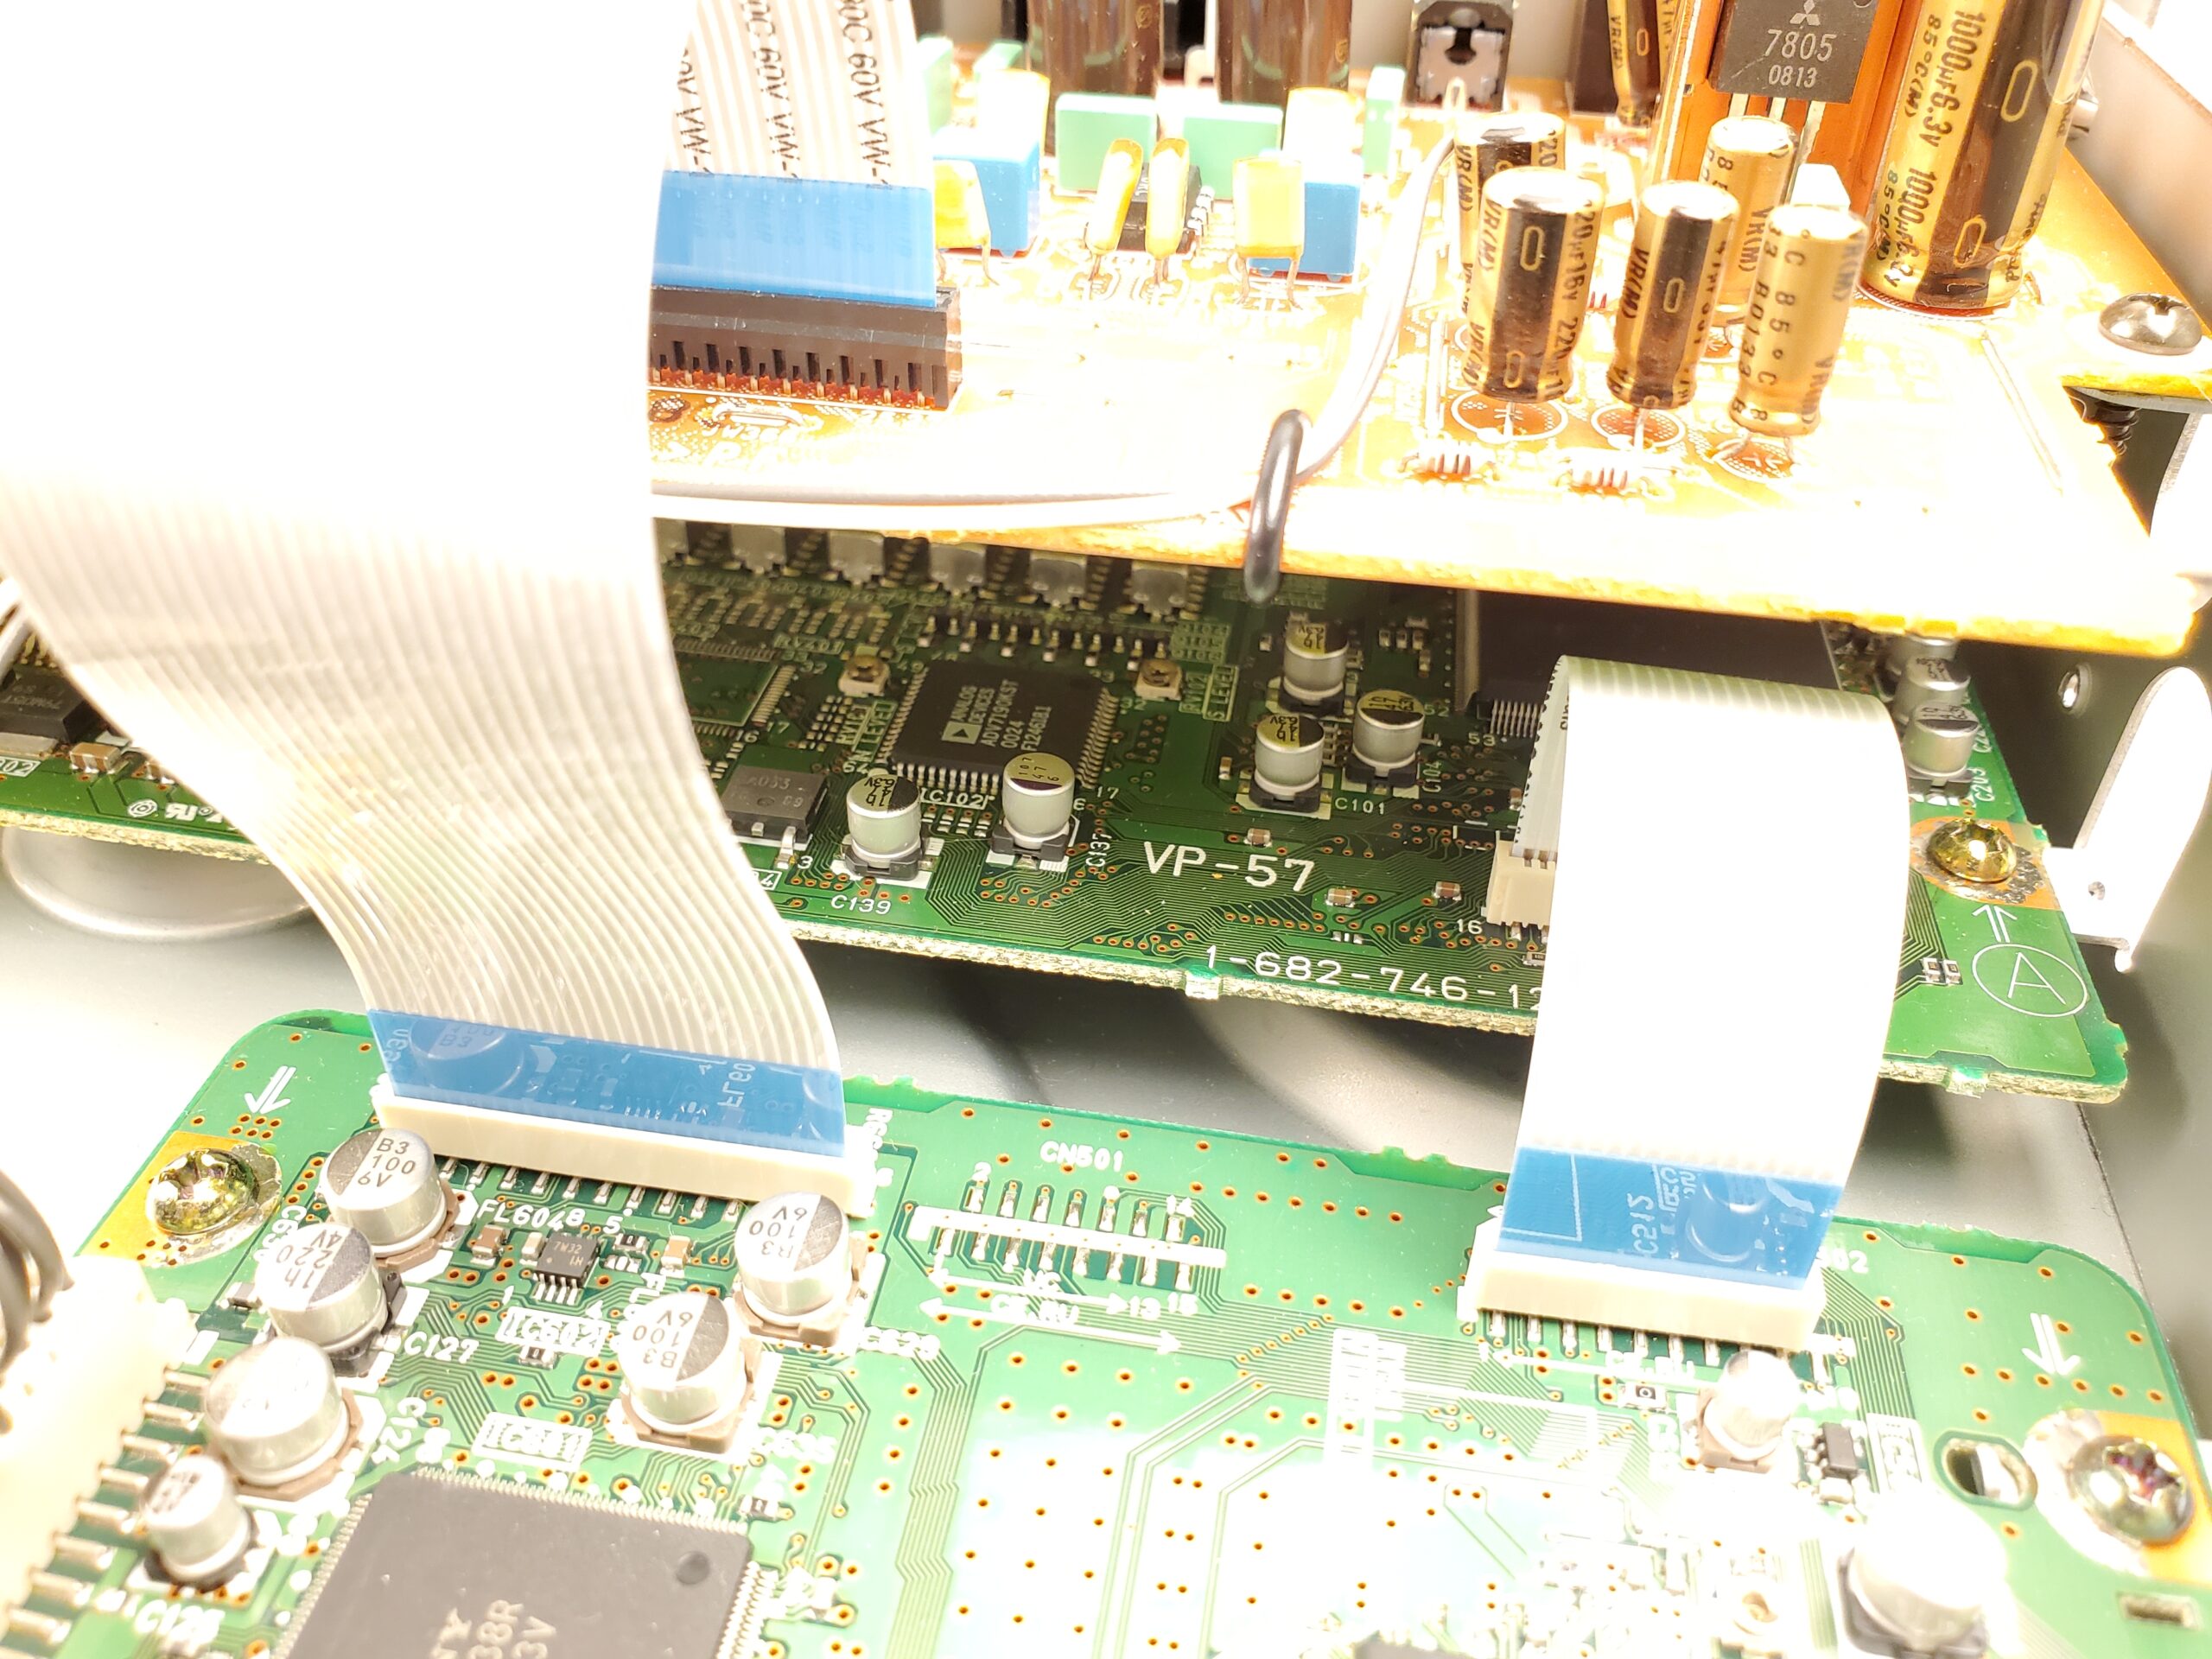
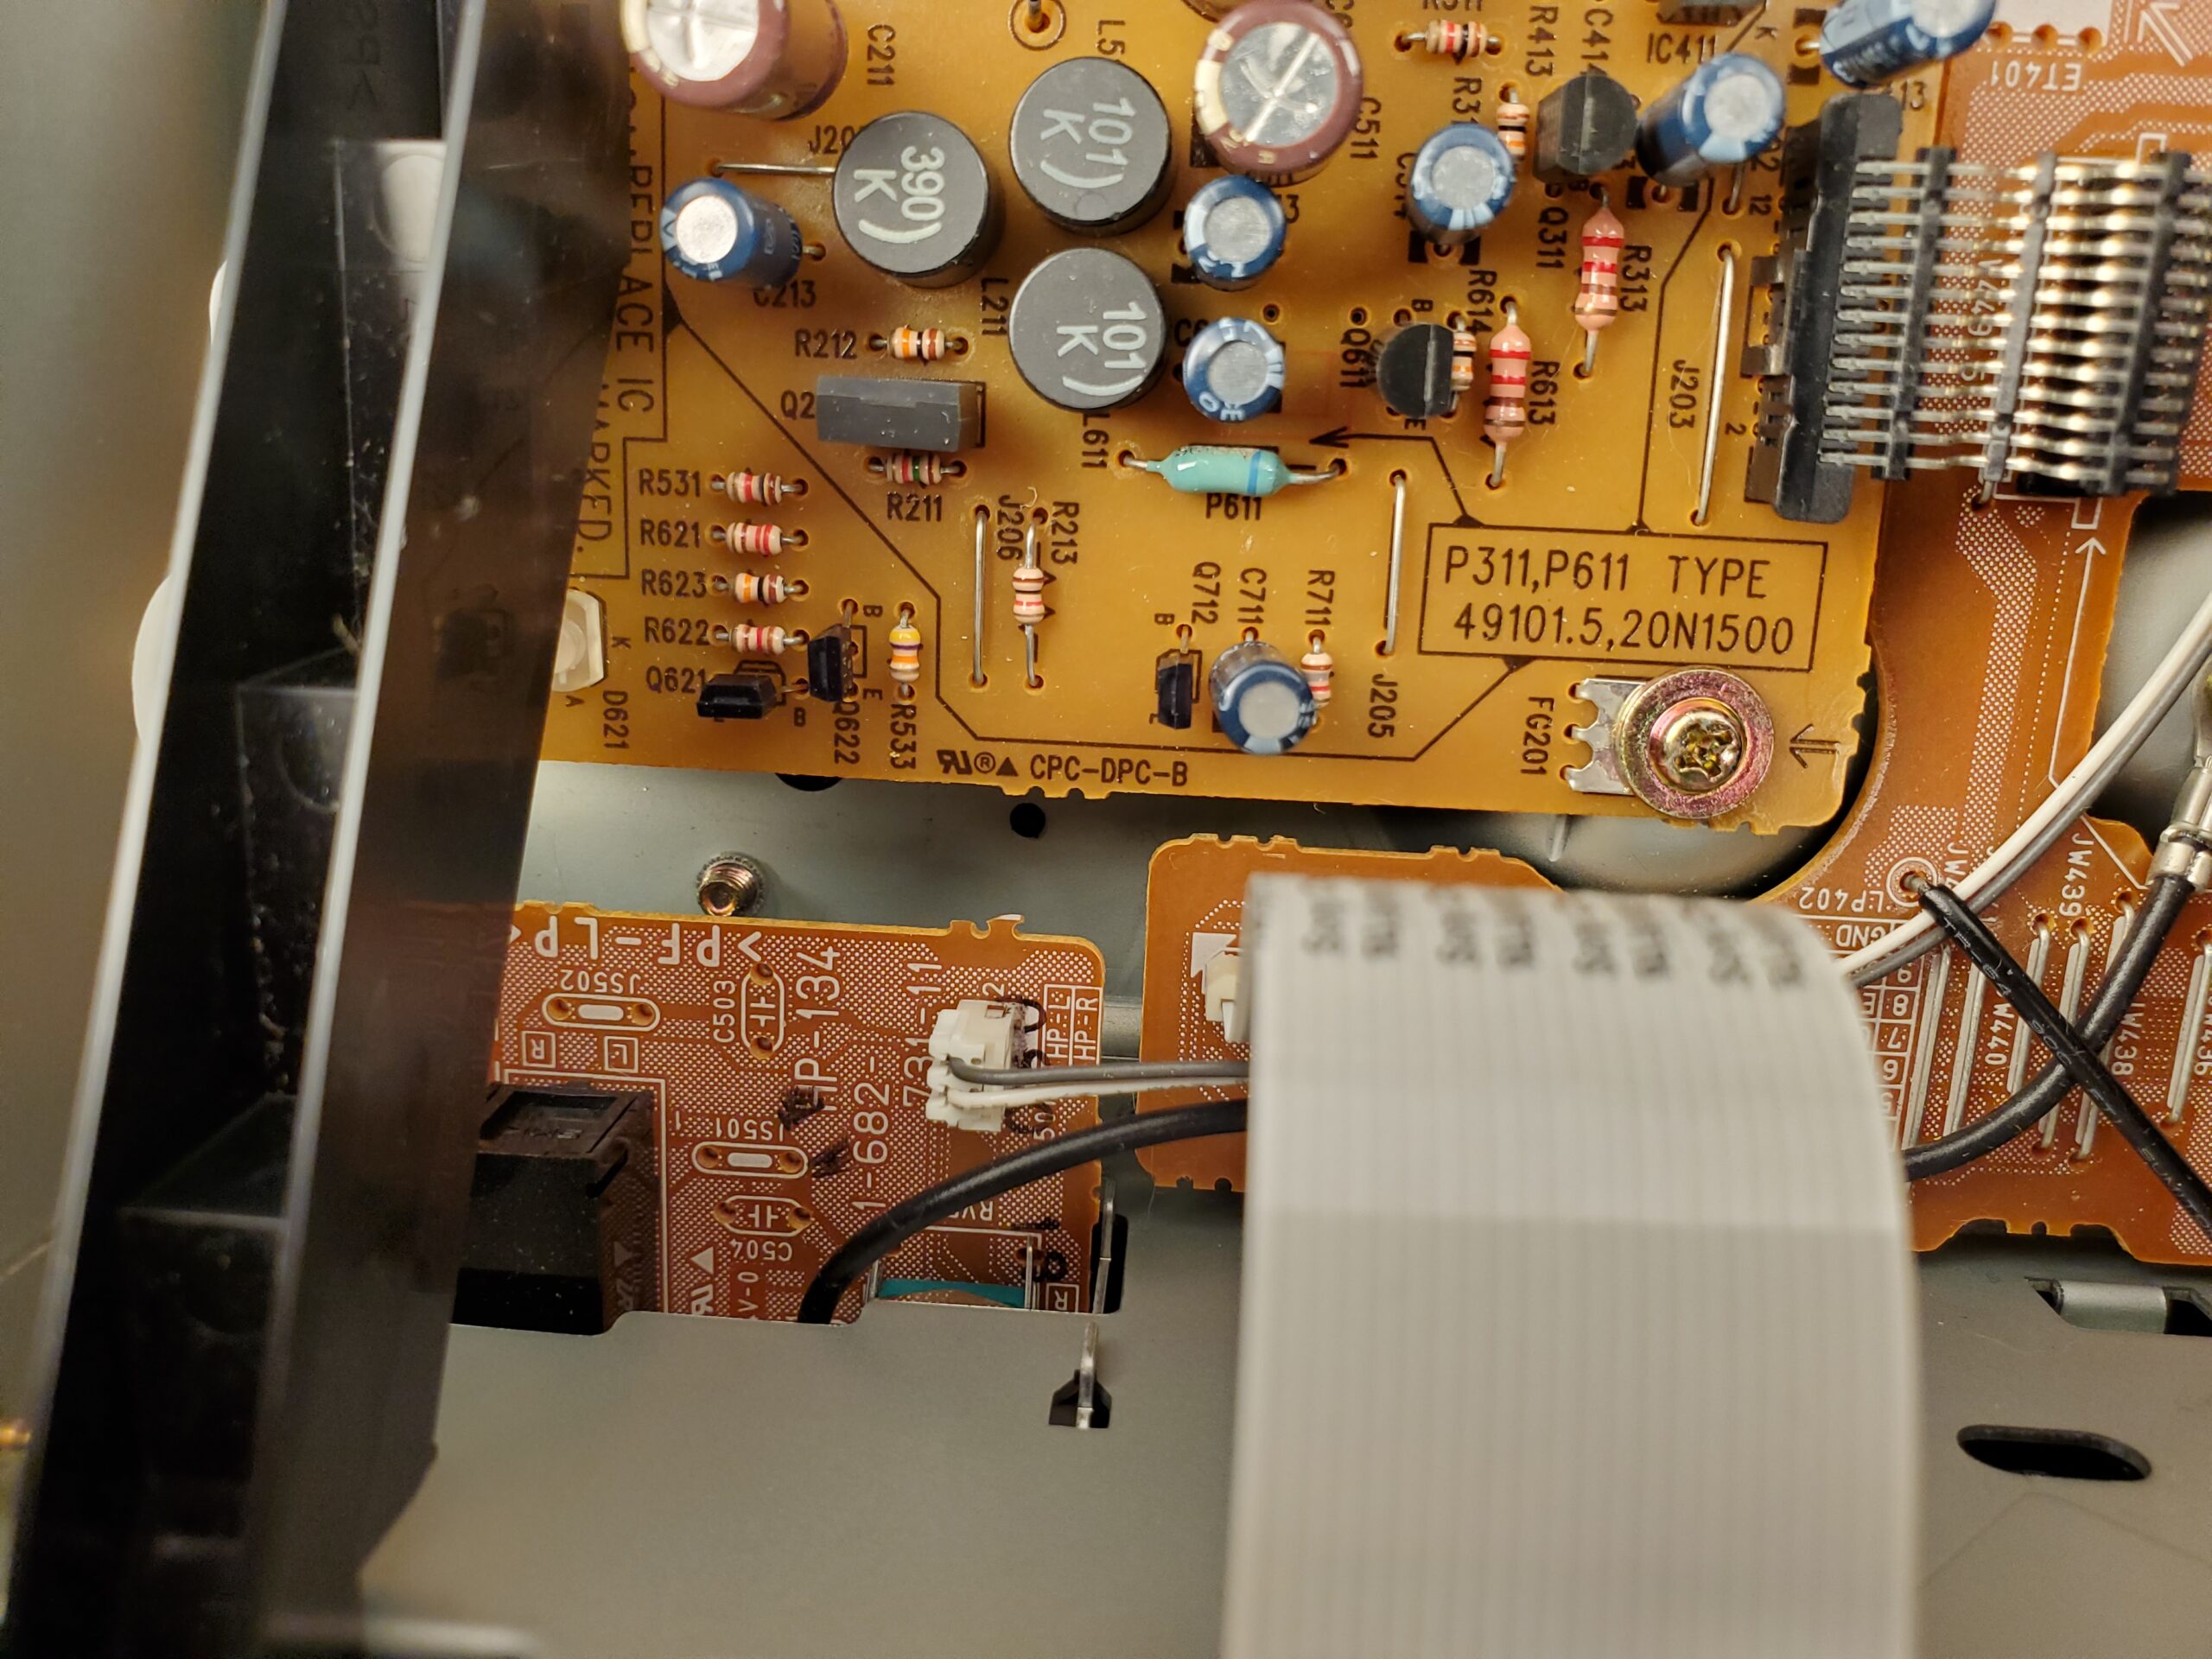
Photos